A Best Practice in Wellness: Lamego Hotel and Life Hotel Review
In the heart of Portugal’s Douro Valley is the captivating town of Lamego: a wine country destination that beckons travelers seeking not just a getaway, but a genuine connection to history and beauty. While exploring that area this past spring, I had the wonderful privilege of staying two days and nights at Lamego Hotel & Life, an enchanting 4-star wellness resort. Find a full review of my stay below:
The Property and Amenities
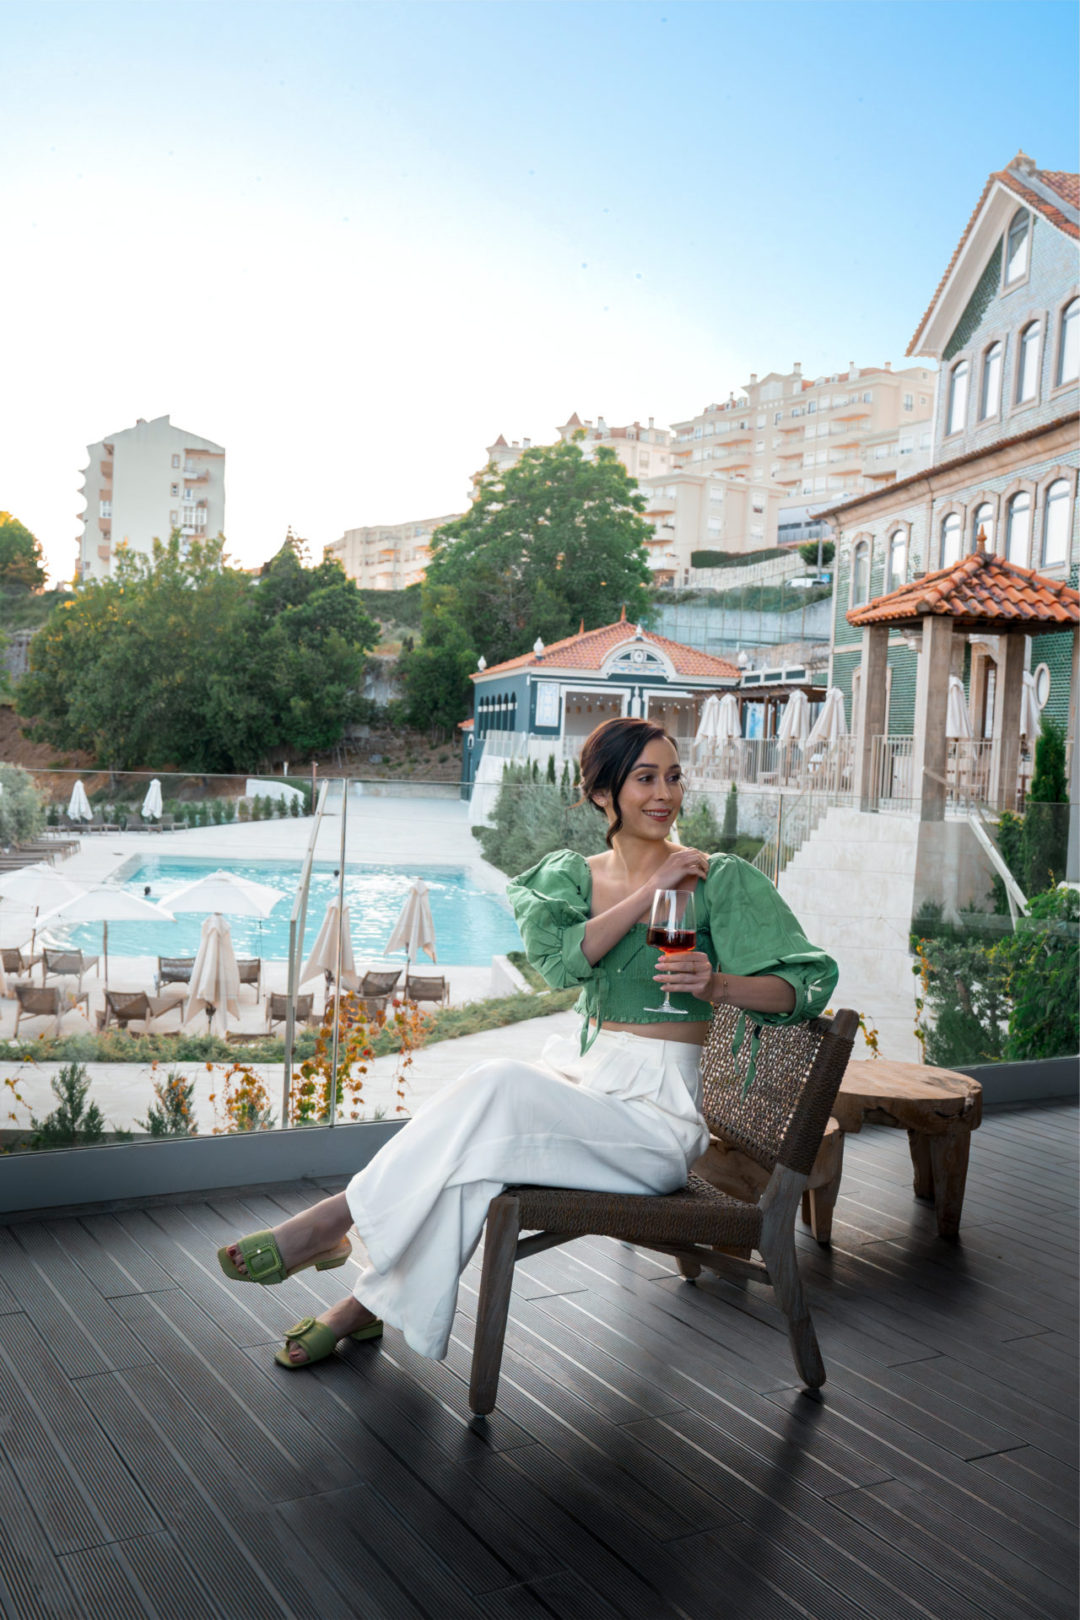
After driving an hour and a half from Porto, I made it to Lamego worn out, but ready for some proper rest and relaxation. Having never visited Portugal’s Douro Valley before, I was surprised to find that the town where I’d be staying still felt very much a city inside its historic core.
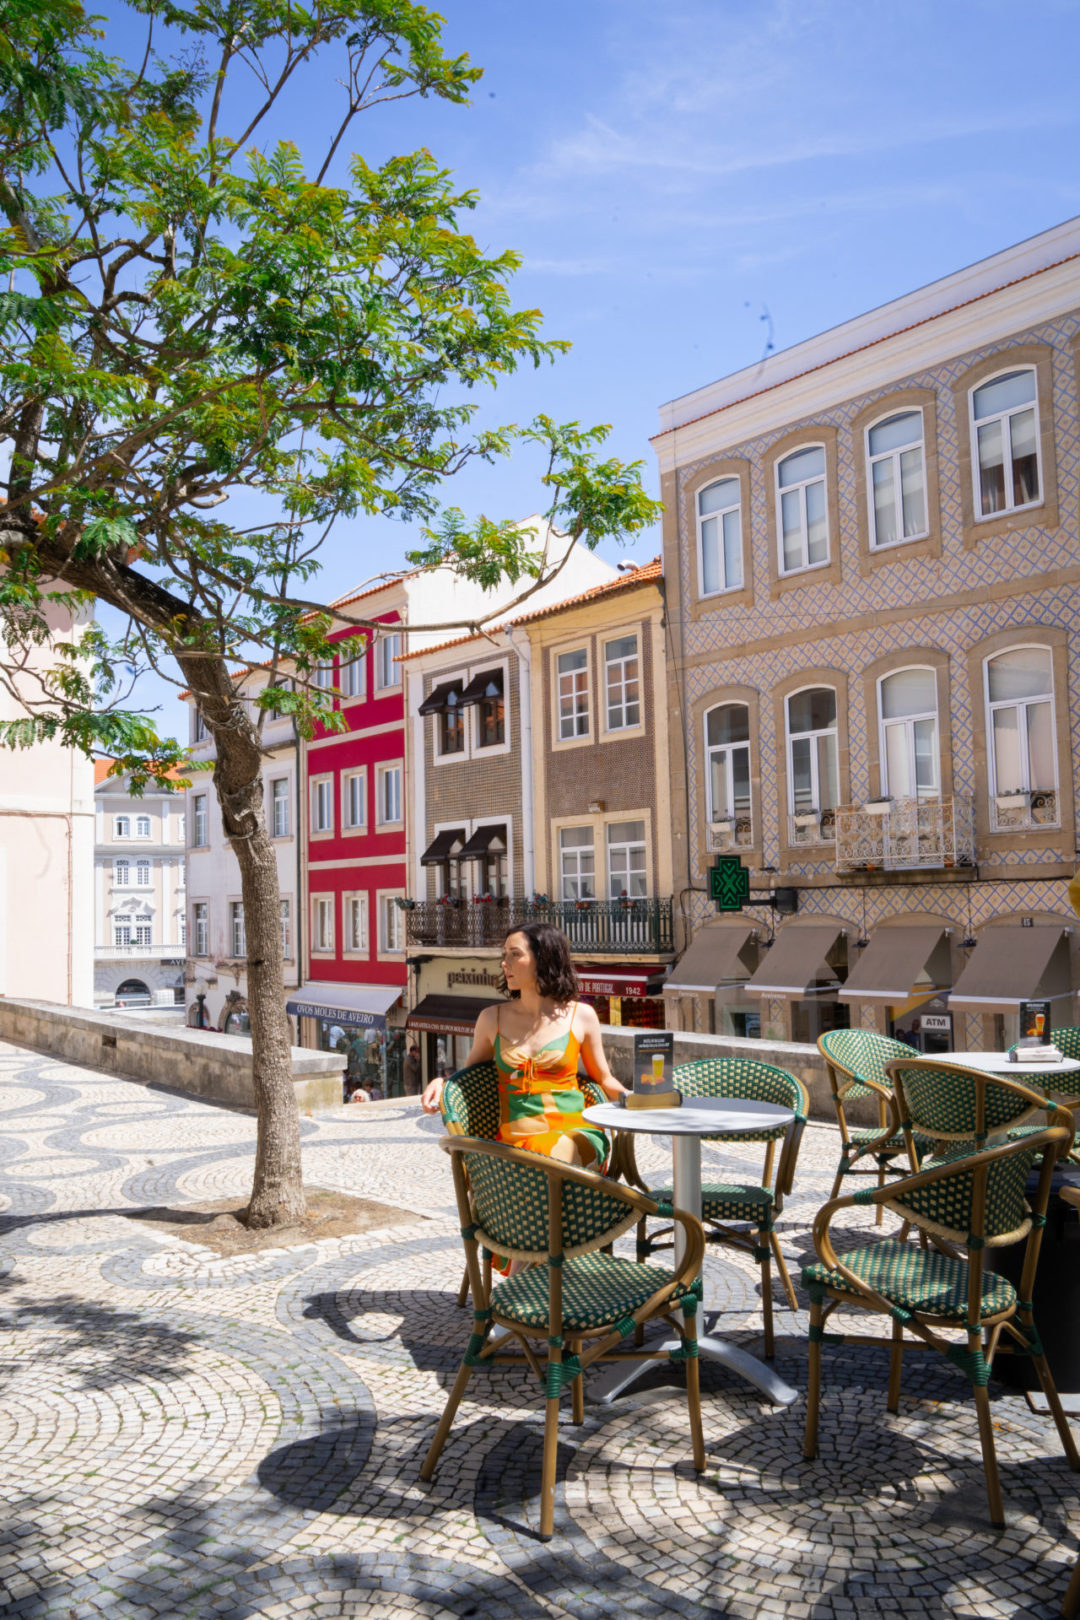
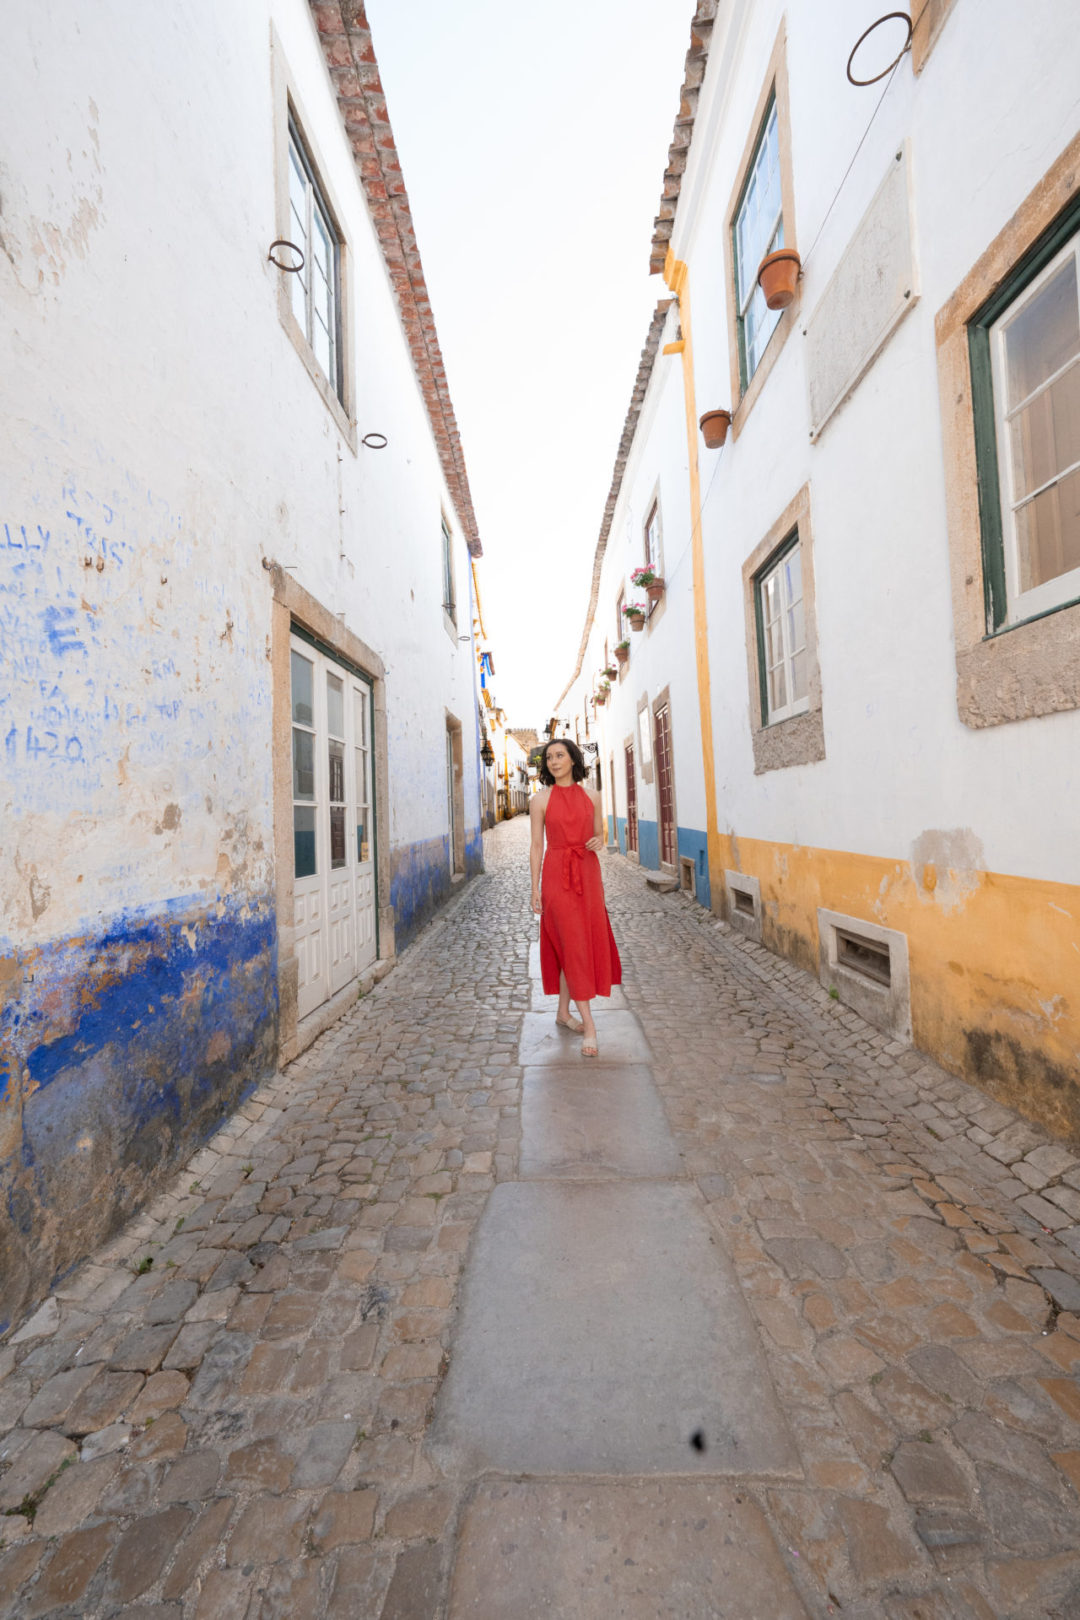
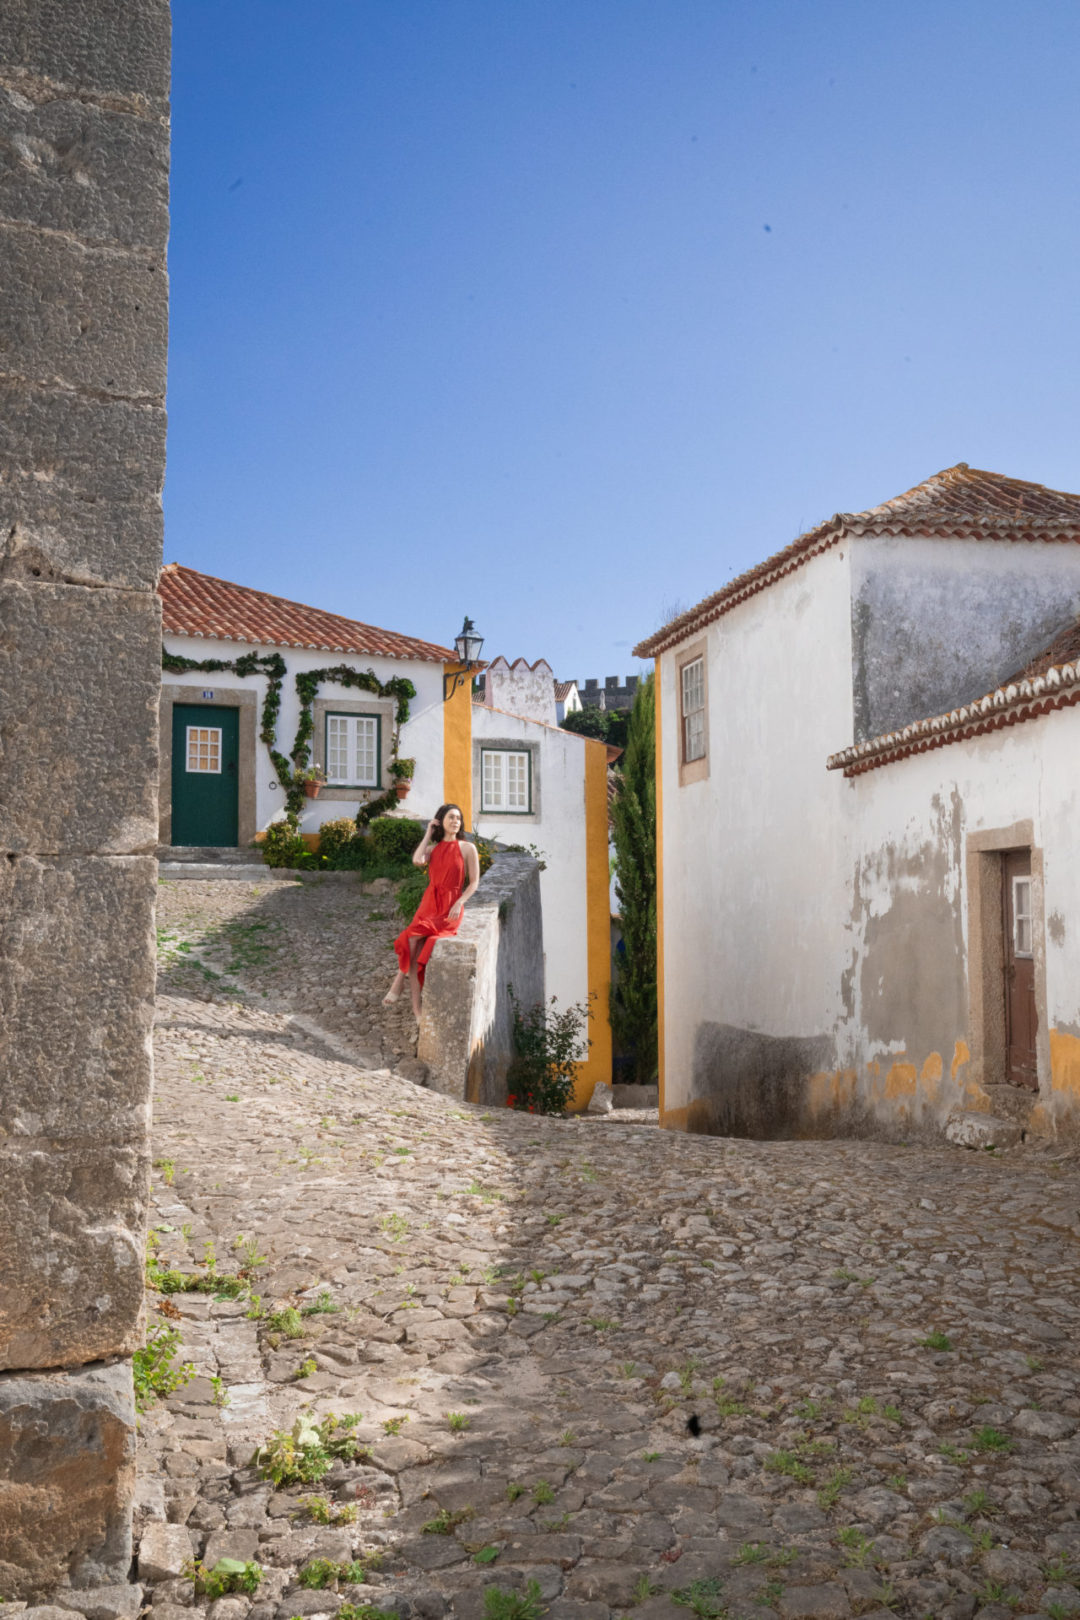
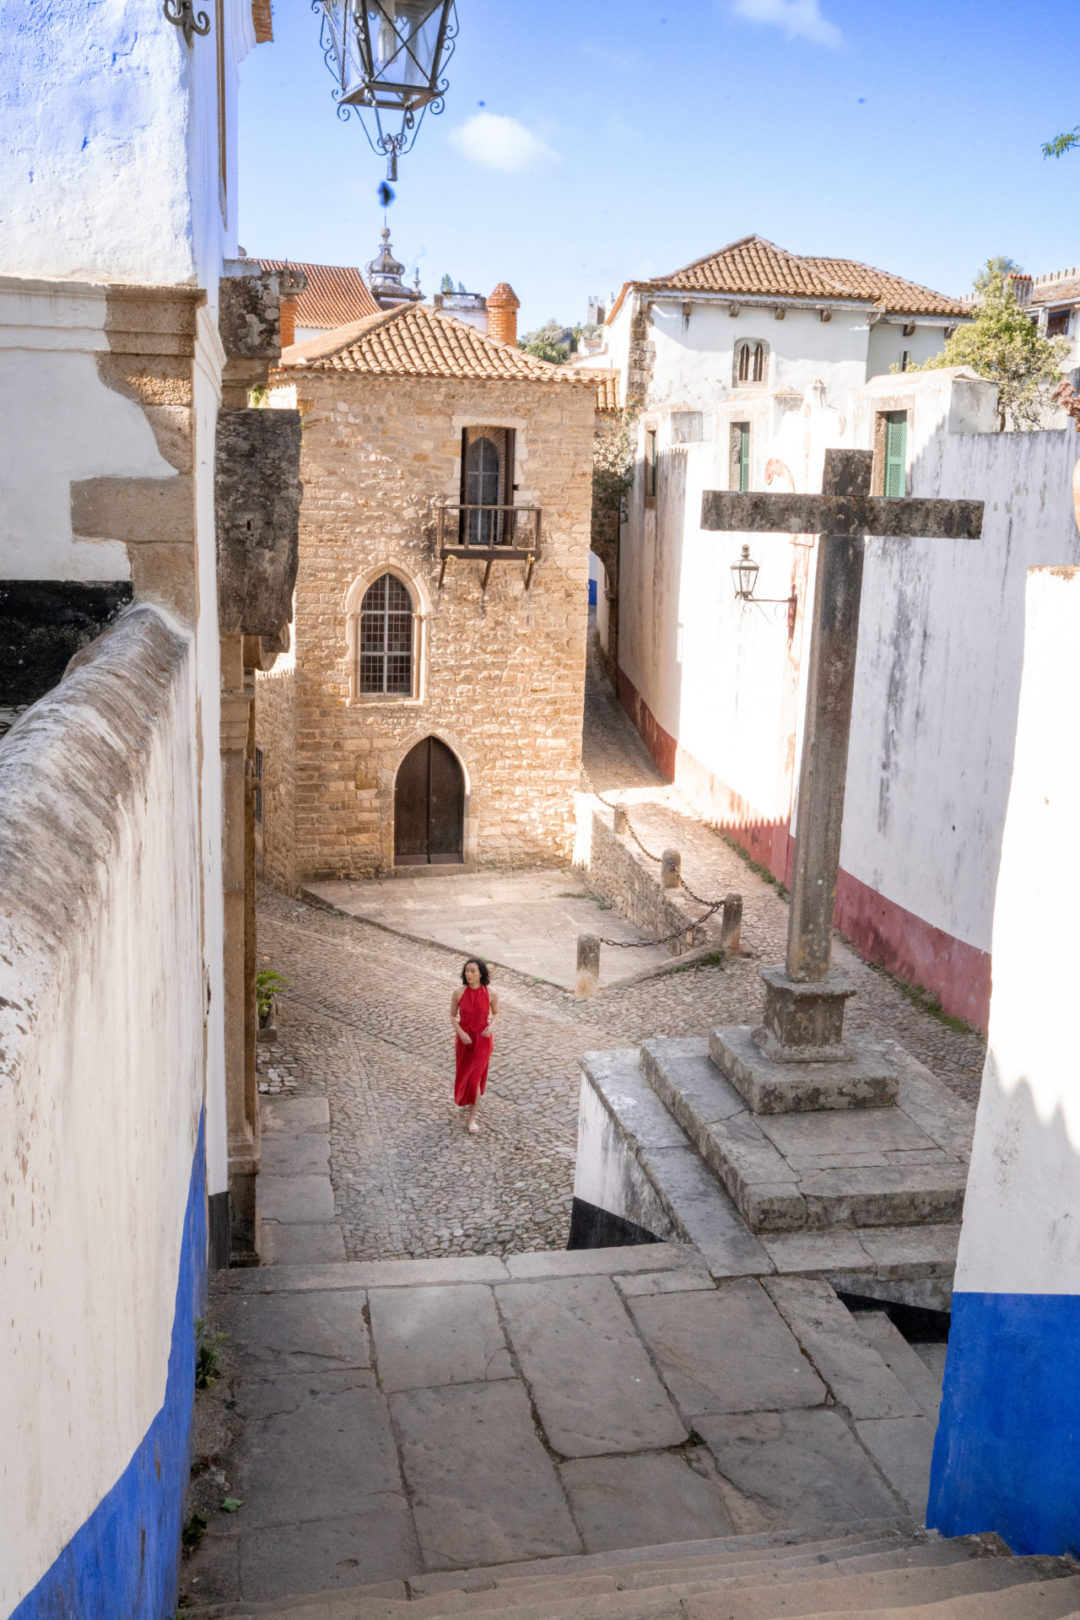
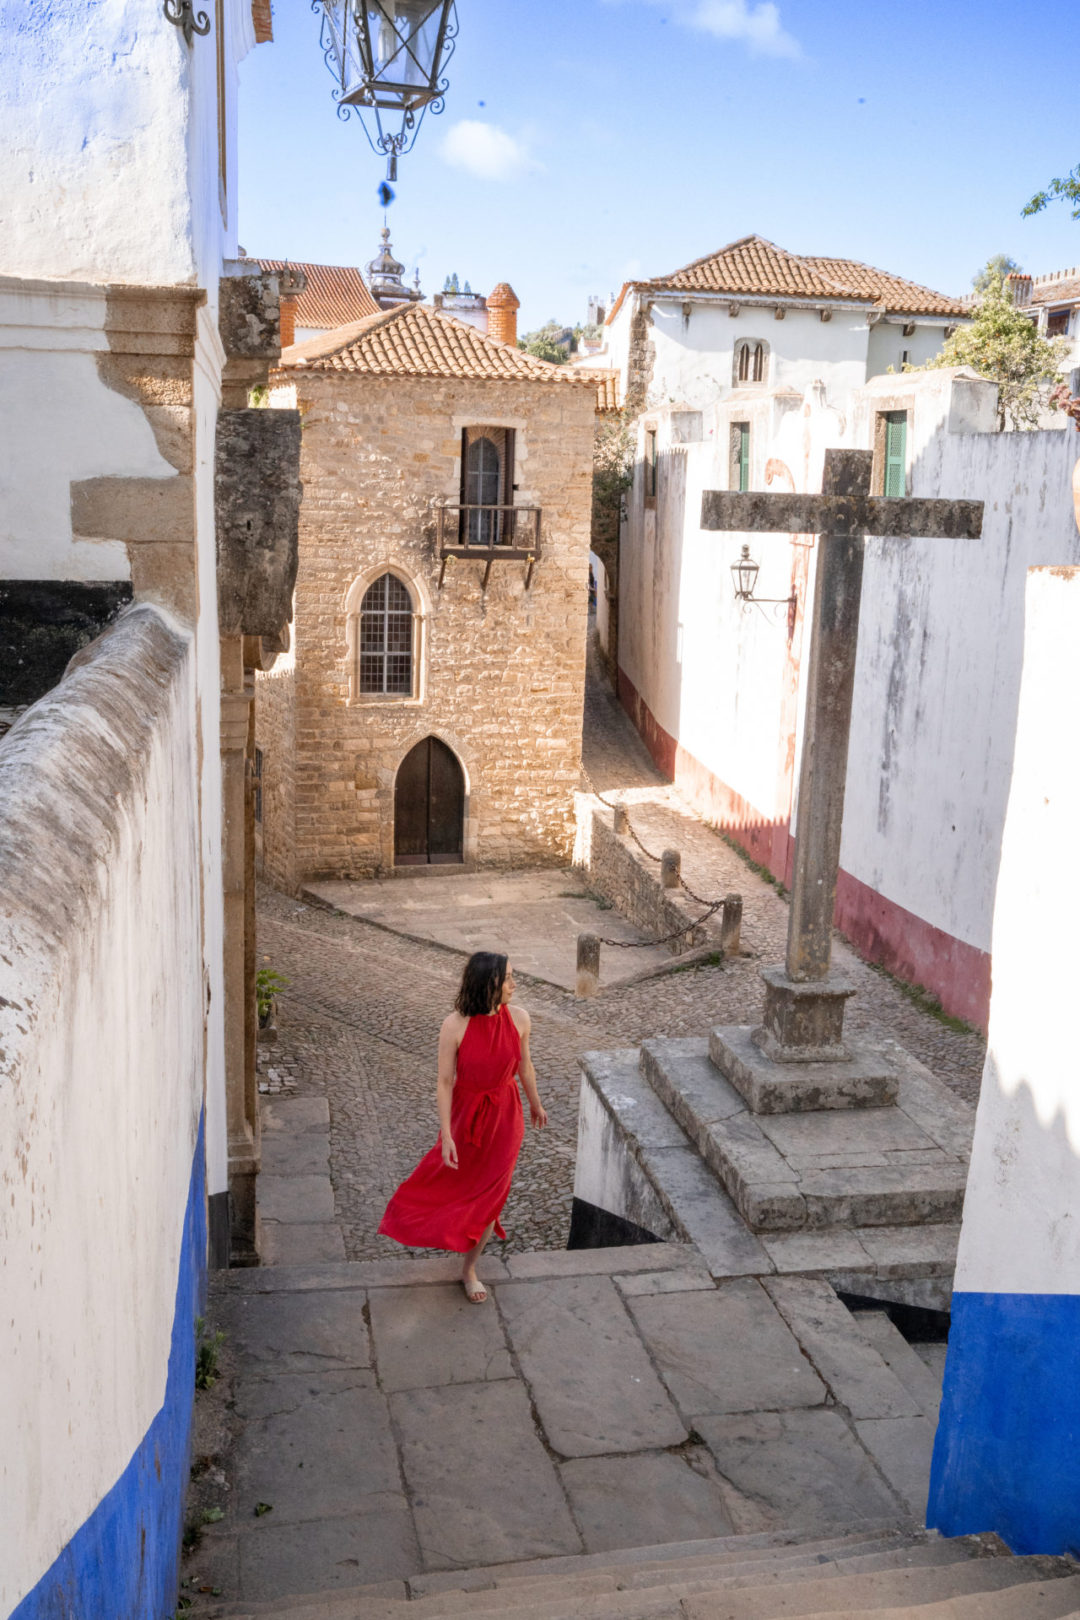
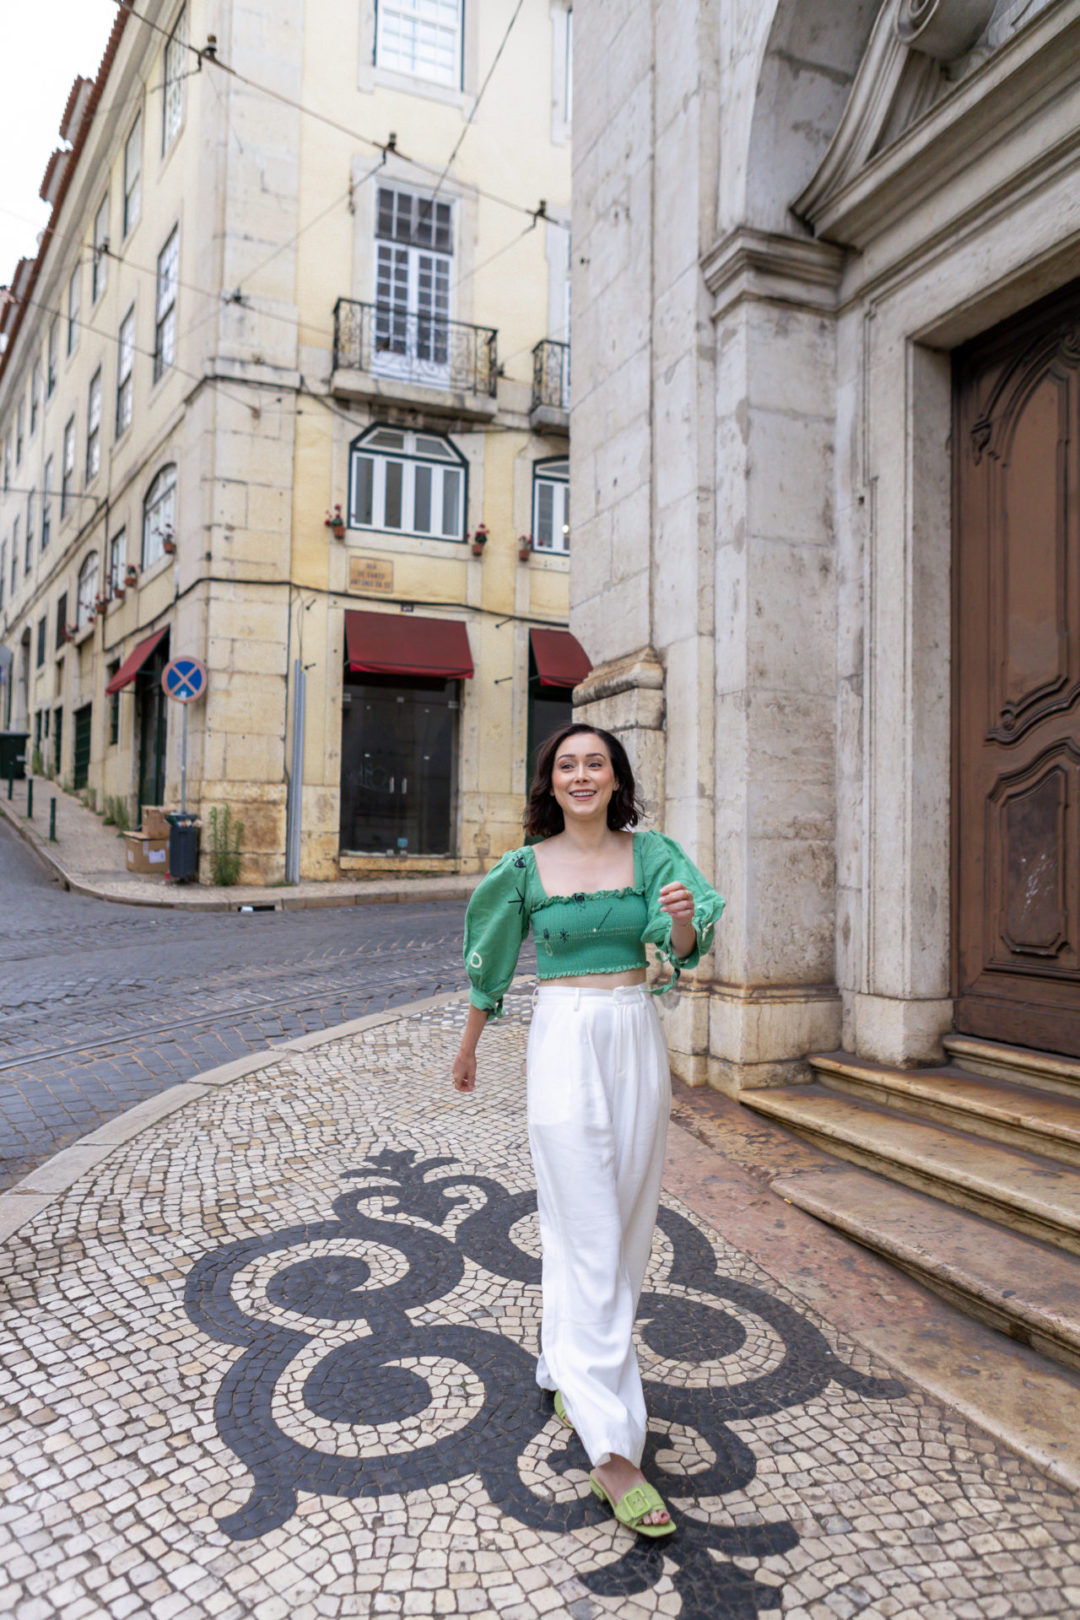
Groups of people walking throughout old town, despite it being a weekday. And picturesque cobblestone walkways that spoke to the area’s past seamlessly wove their way around classic Portuguese architecture and rolling green hills.
About 5 minutes away from the center is where I found Lamego Hotel & Life. When I first pulled up, I was a bit surprised to see how large and accommodating the property and its driveway was. Unlike the small European roads I had grown accustomed to, the hotel welcomed guests with a smooth yet winding private road leading right up to the hotel’s reception.
Arriving in the afternoon, I walked into the hotel’s lobby. The design felt both modern and earthy with minimal cream, beige and brown-toned decor mixing with plants and other natural motifs.
I was happy to see multiple staff available to check-in myself and a few other guests at reception. Everyone was quite friendly and the check-in process was both fast and informative and its here where I learned some additional details about the hotel’s convenient parking, amenities and guest services.
After check-in, I decided to park and bring my luggage to my room before taking reception up on their offer for a welcome drink and quick tour of the property. Guests have their own private parking garage and elevator entrance just beneath the hotel. Everything was quite accessible with large doorways and easy-to-access ramps, which was quite a pleasant surprise from many other hotels I stayed out throughout Portugal.
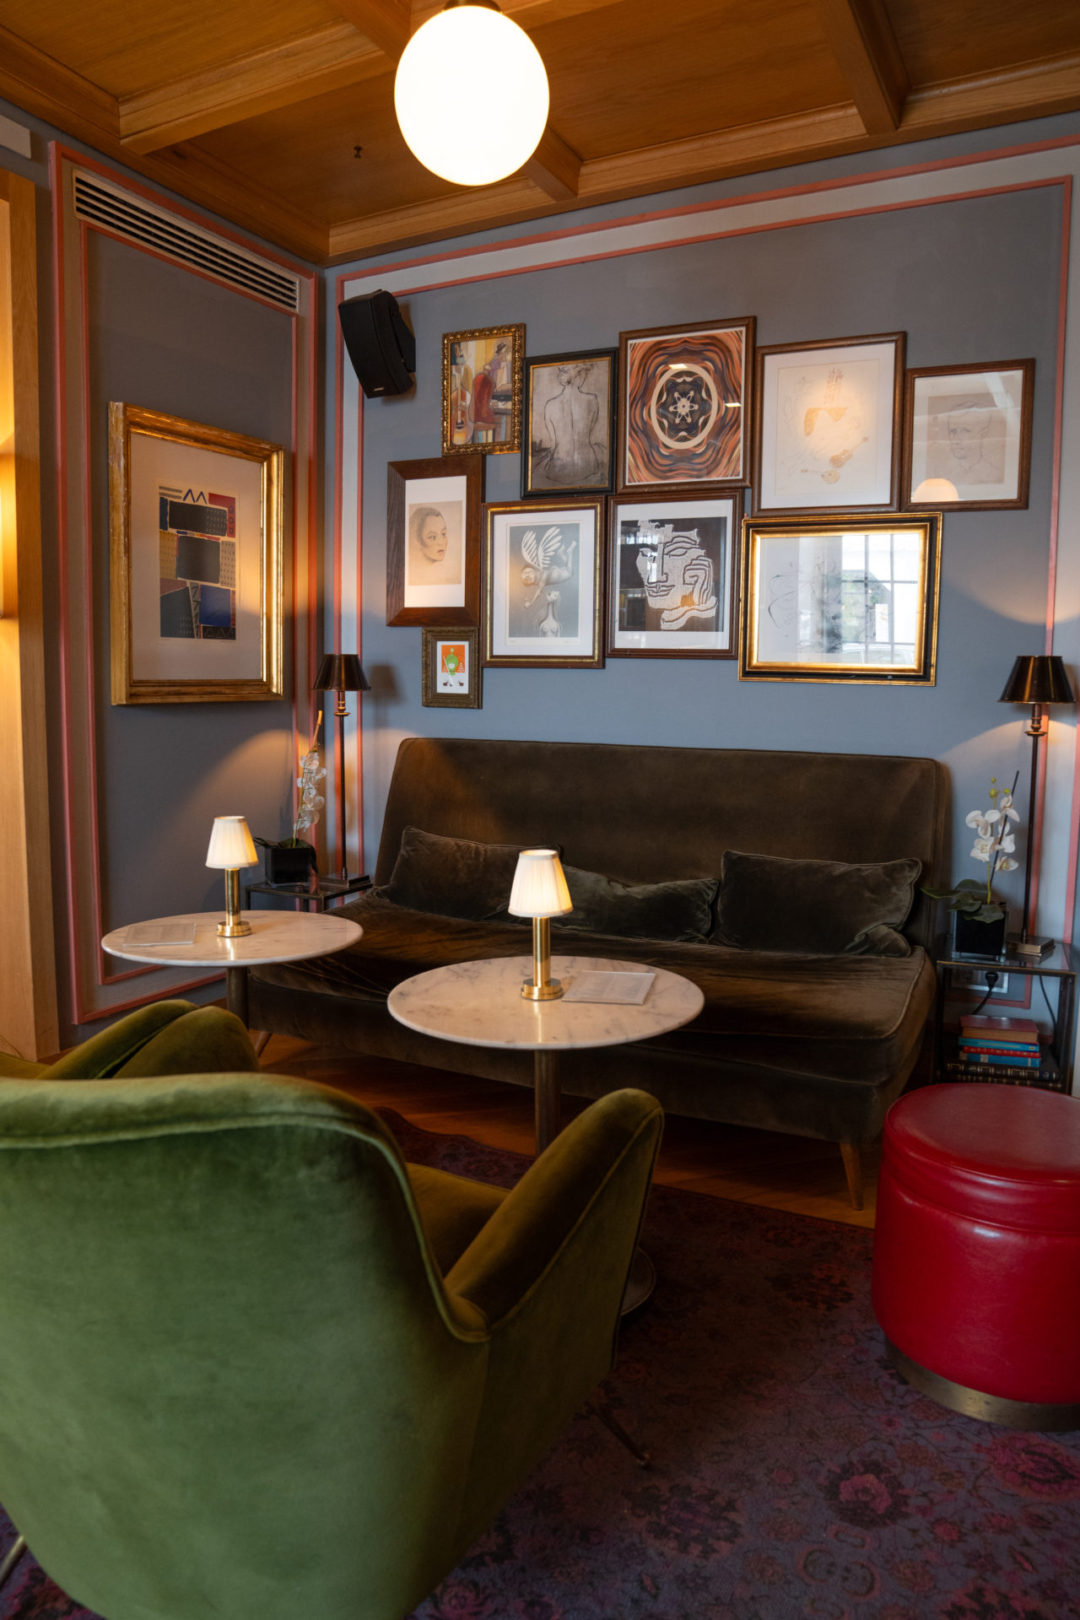
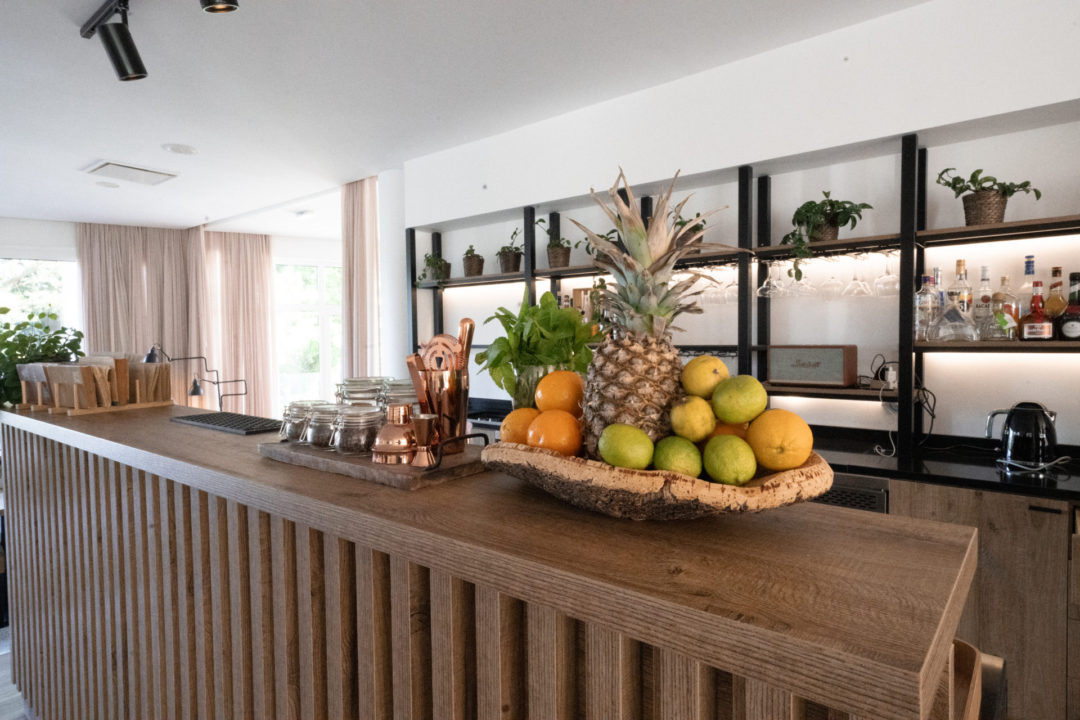
Once I made it back to the lobby, I was shown the hotel’s artisanal shop and 1926 Bar, which had not just wine, but lots of cocktails and bar snacks to enjoy! Being in Portugal’s famous Douro wine region, I was offered one of three house wines on tap: a red, white and a rosé. I proceeded with the rosé and then the rest of the tour.

In the room behind 1926 Bar, the hotel had an open and airy game room with board games and a foosball table. The room overlooked the gardens and one of the hotel’s two pools: the outdoor headed pool. While typically only open from June to October, I was pleasantly surprised to find it open during my visit in May! It was lovely to pop by and relax in the water during the late afternoon after a wine tasting or two.
Had it not been open, I was also excited to visit the hotel’s other year-round indoor pool inside SPA by L’Occitane. With the indoor pool, a Nordic Bath and a variety of face and body treatment options, the spa offers an incredibly personalized experience. I loved the few hours I spent here relaxing on the loungers, soaking in the warm Nordic Bath and, of course, melting into a massage treatment.
Just below the spa was the gym where guests enjoyed access to a variety of workout machines throughout my stay. Lamego Hotel & Life is quite wellness-focused so I wasn’t shocked when I also saw an outdoor yoga session taking place on the hotel’s back deck one morning.
My favorite memories of the property, however, were my interactions with the property’s friendly staff. Everyone seemed genuinely happy to be there and that was reflected in how they all went above and beyond to make sure that myself and other guests had an amazing stay.
From helping me organize wine tastings and transportation, to letting me borrow a corkscrew to even showing interest in the camera I brought with me and offering to help take photos, Lamego Hotel & Life offers one of the best customer service experiences I’ve had at a hotel in Europe.
The Rooms
Lamego Hotel & Life offers six types of rooms total:
- Suite Valley View
- Superior Room Valley View
- Familiar Room Garden View
- Double Room Valley View
- Double Room Garden View
- Twin Room Garden View
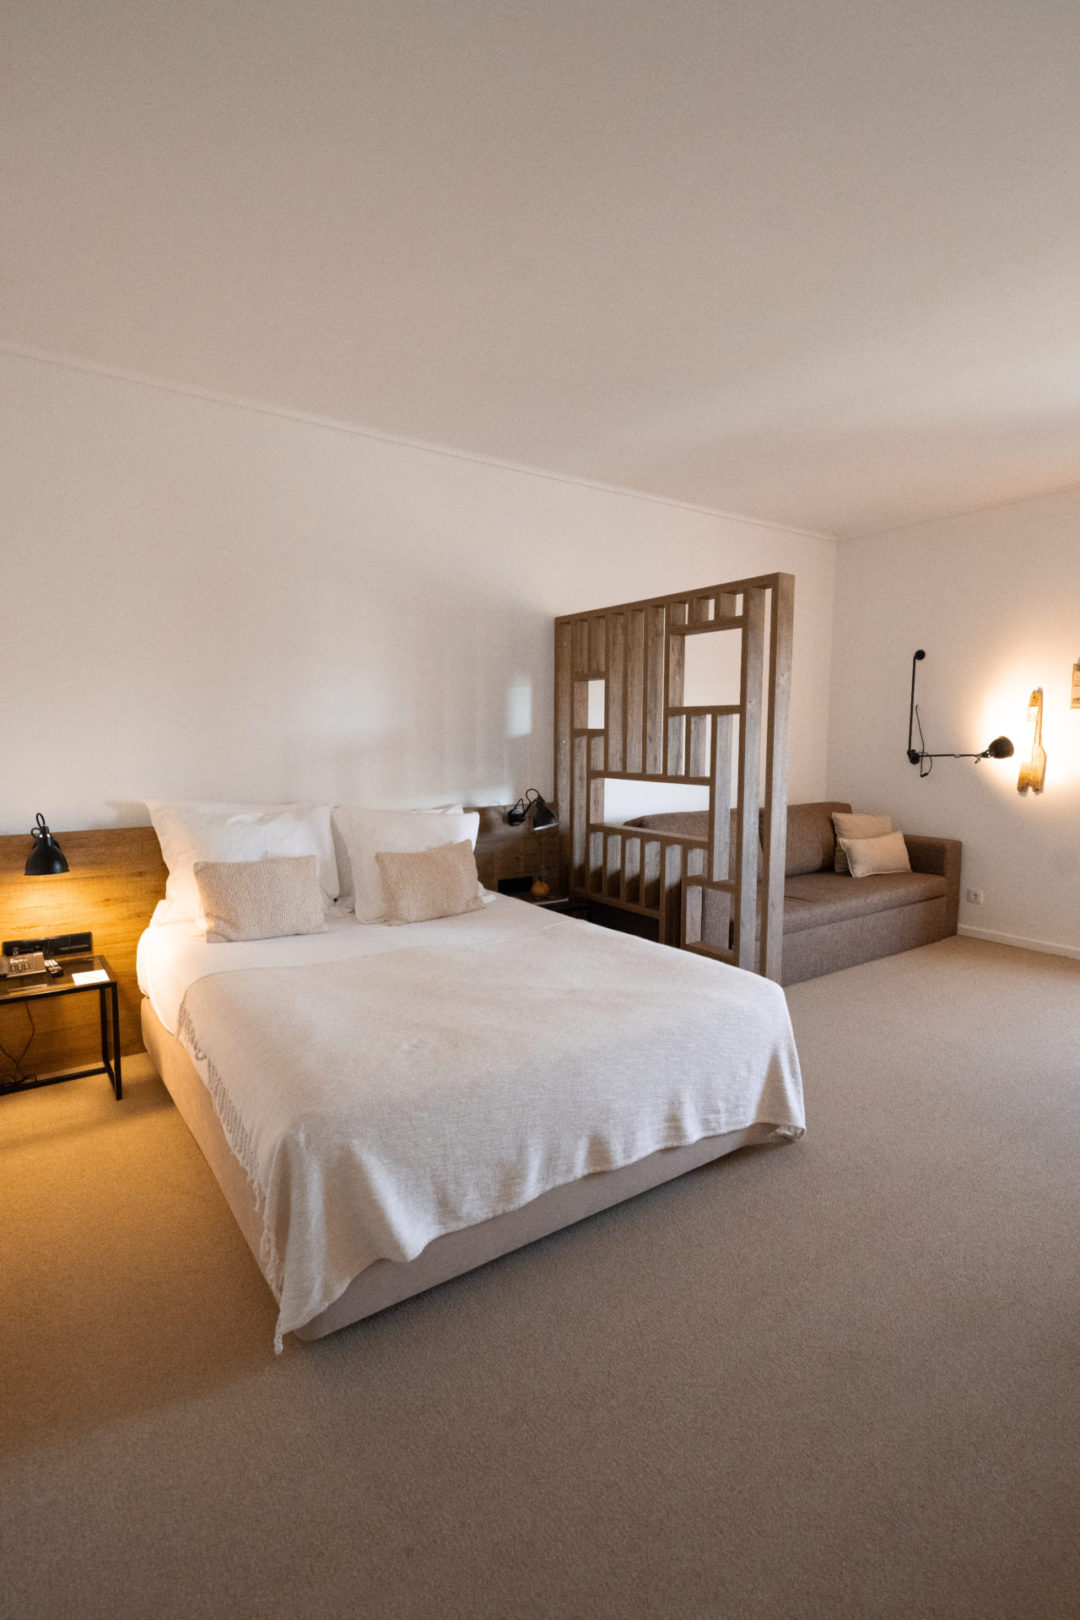
Making my way up from the parking garage, I quickly found mine: a third floor Superior Room with a Valley View. I was thrilled to discover how remarkably spacious the room was, even exceeding what I’m used to by US-standards. Opening the door, I found myself in the room’s entryway which separated the bathroom from the main bedroom-living space area.
A bowl of fresh cherries awaited me on top of a dresser that held a coffee maker, a jar of still water, a minibar and a microwave. Just alongside, I also found a personal welcome note from hotel management. I was visiting on my own accord and so I found this surprise treat all the more delightful!
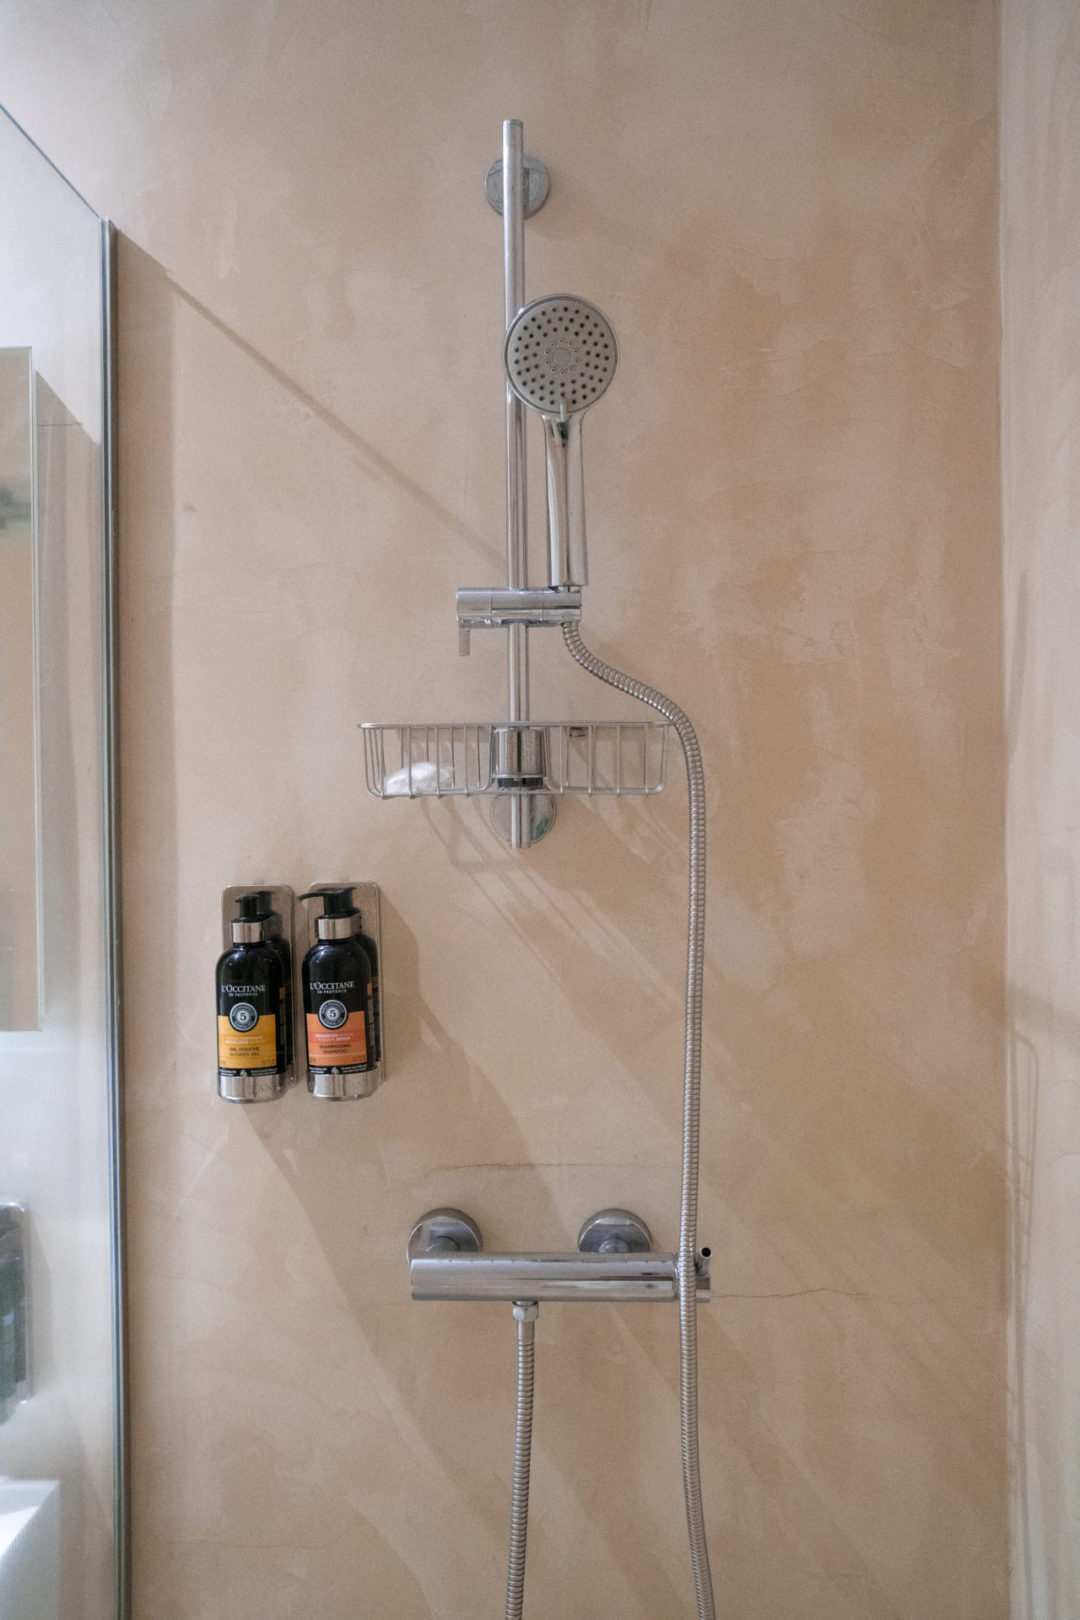
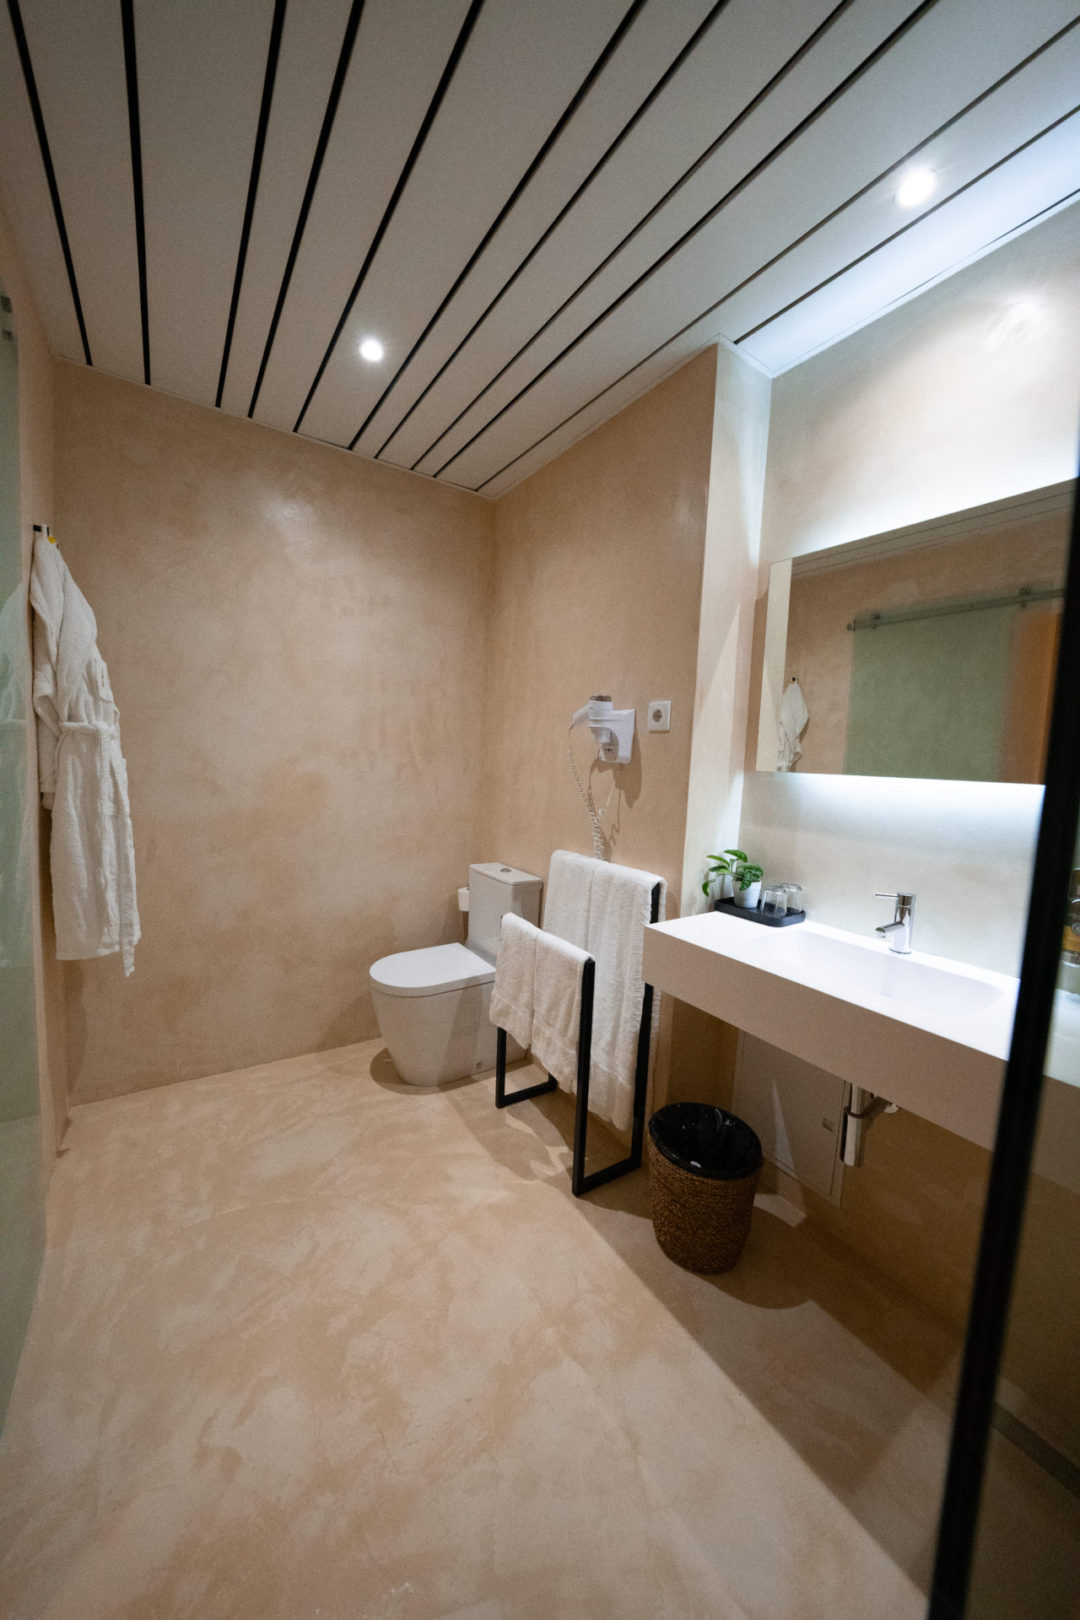
In the next room, I found the bathroom, which featured a glass walk-in shower and lots of counter space! And as far as included amenities go, I was able to make use of a full-size hairdryer, L’Occitane body and hand soaps and two soft hotel-branded bathrobes, which came in handy for my visit to the spa downstairs.
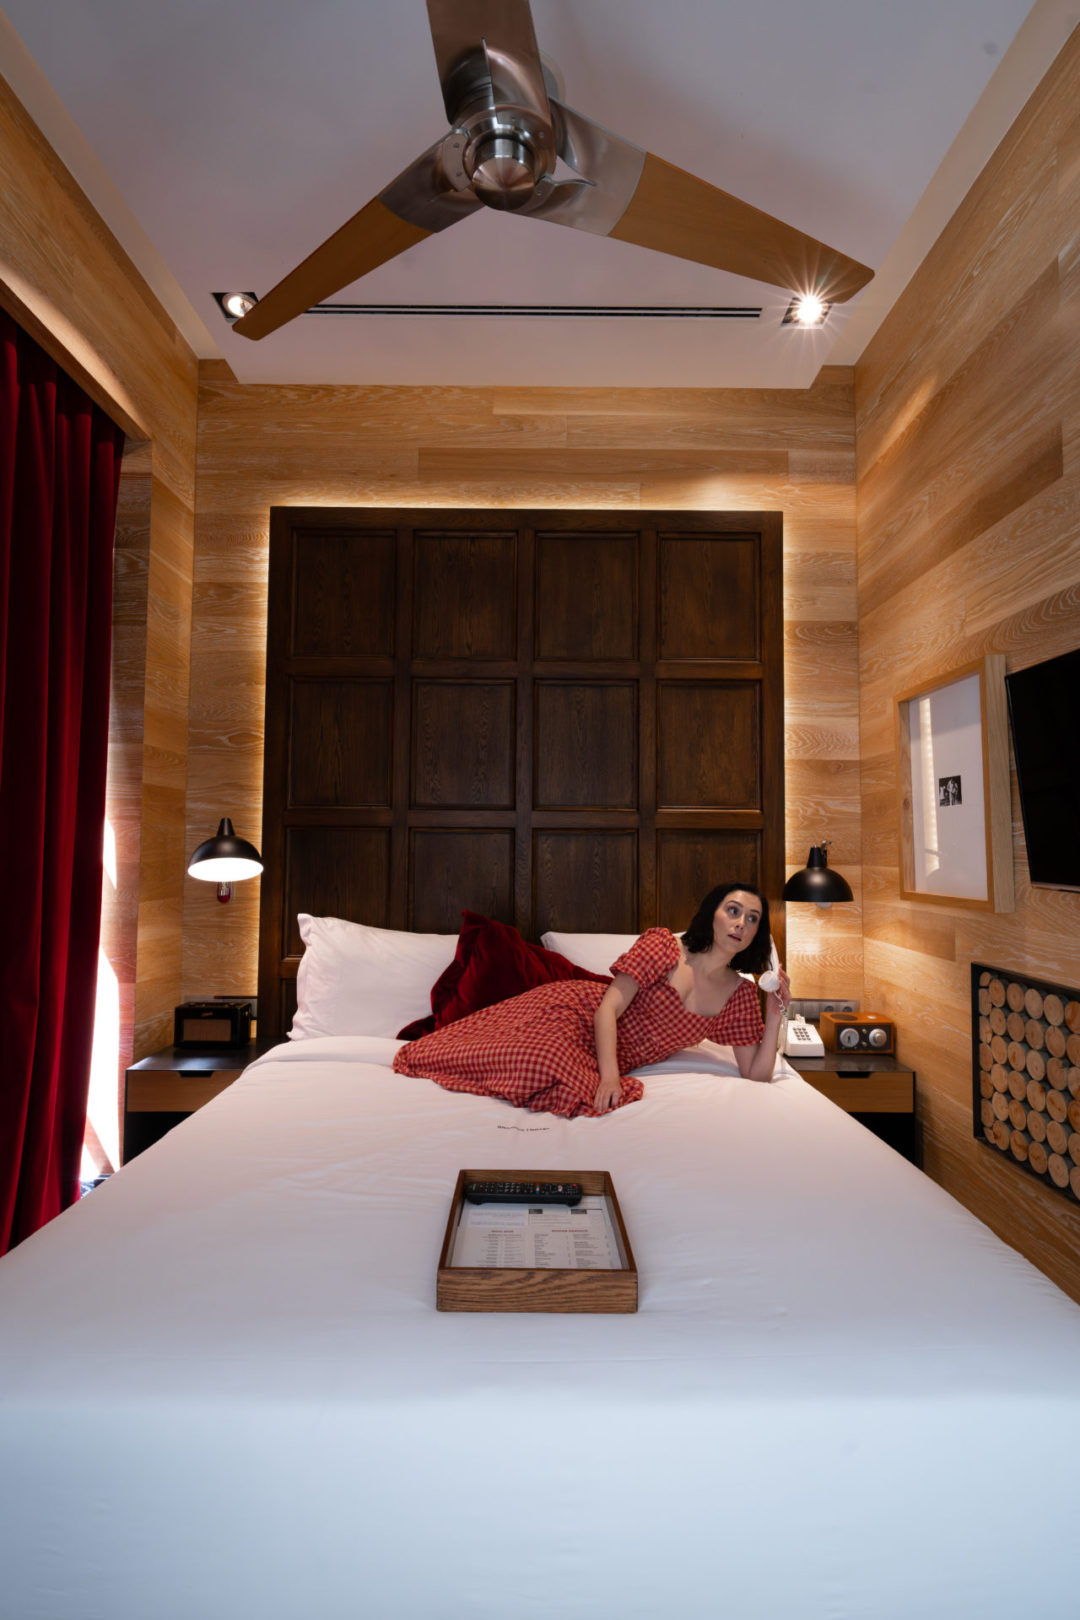
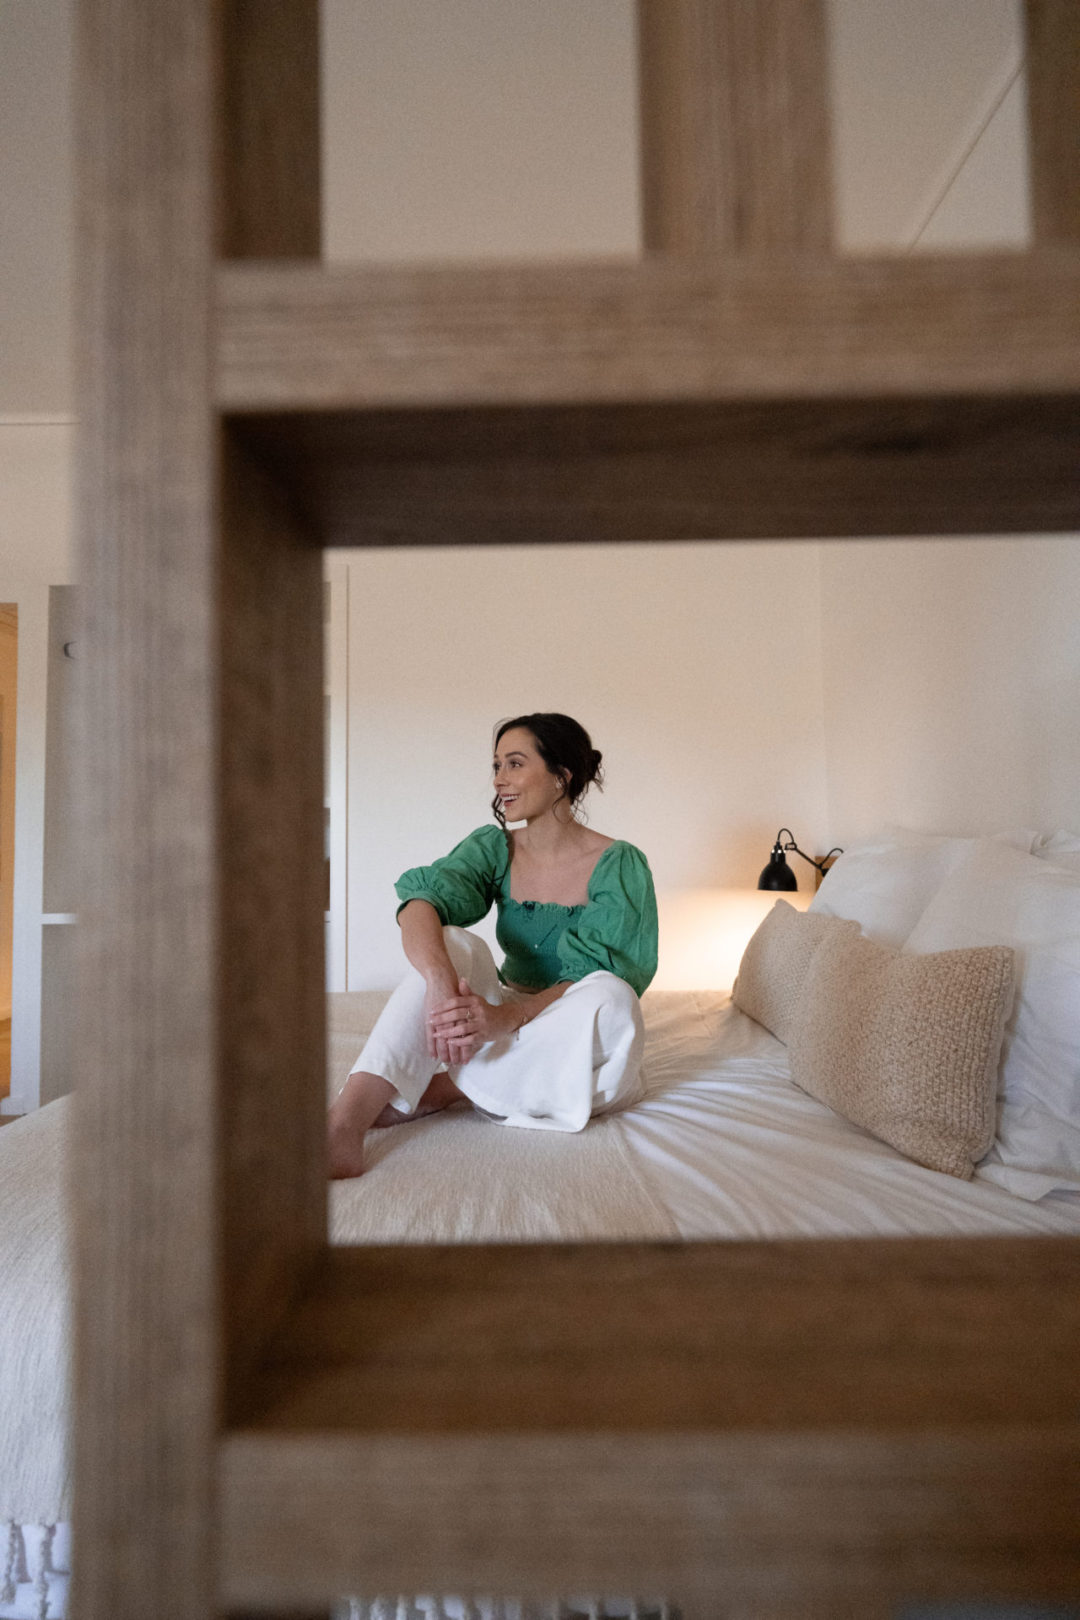
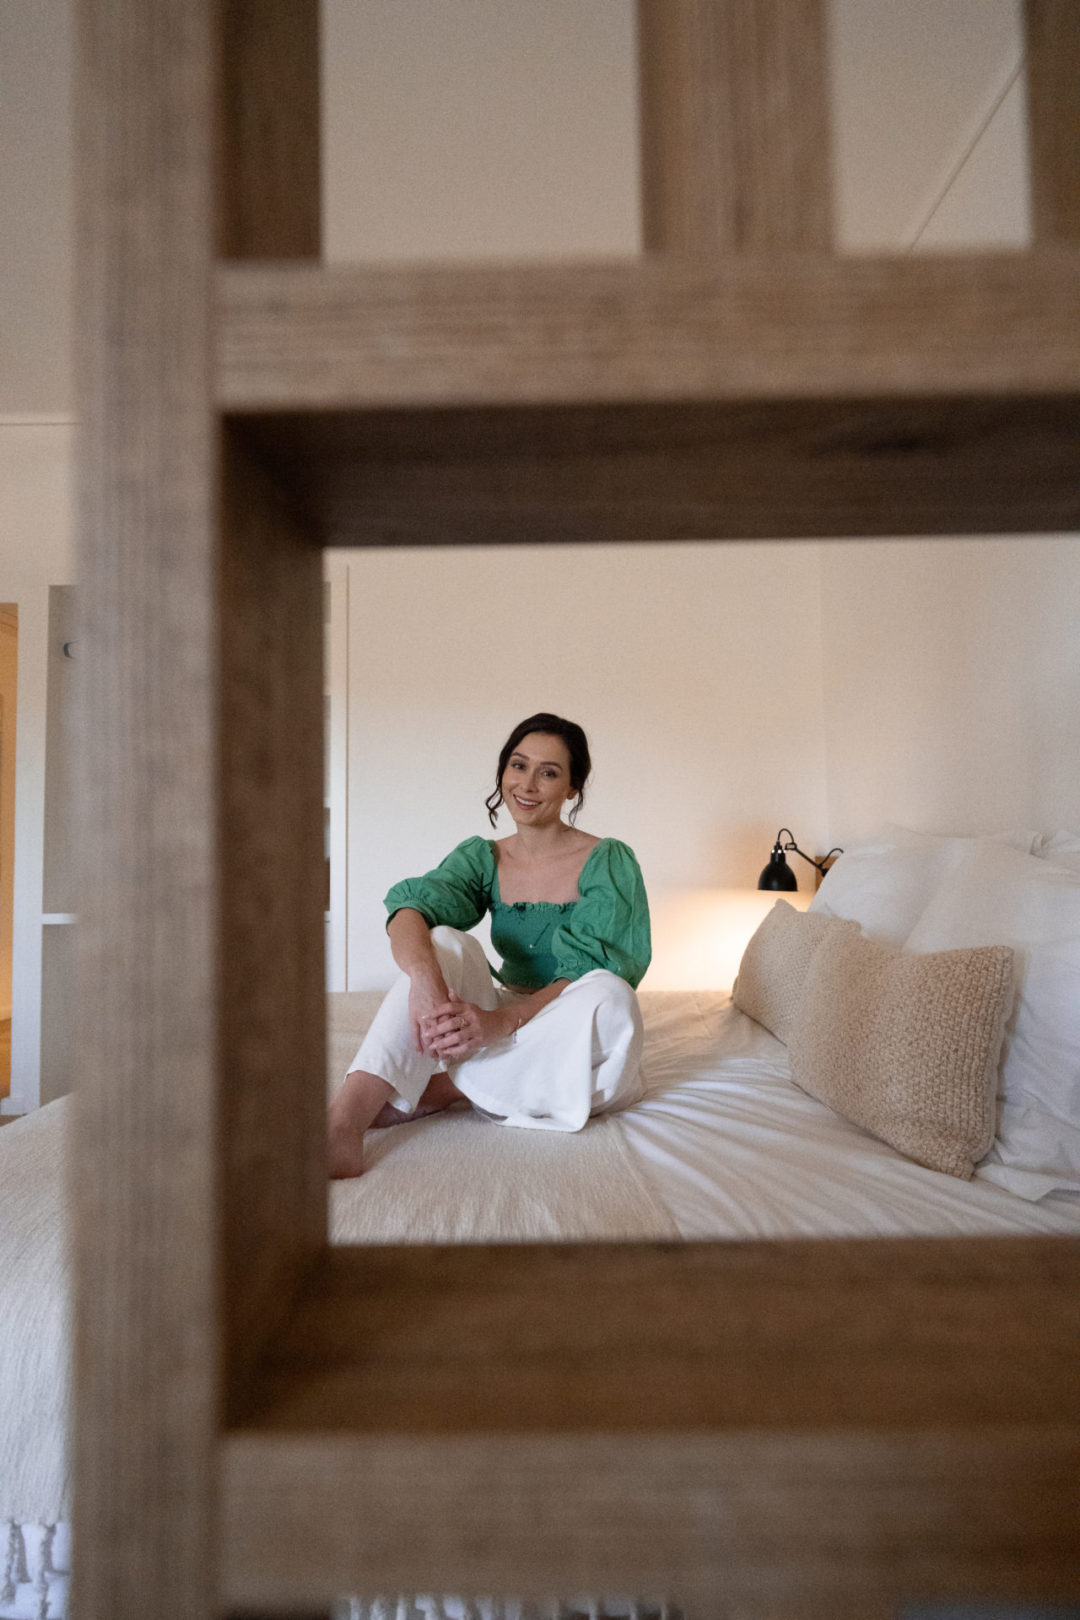
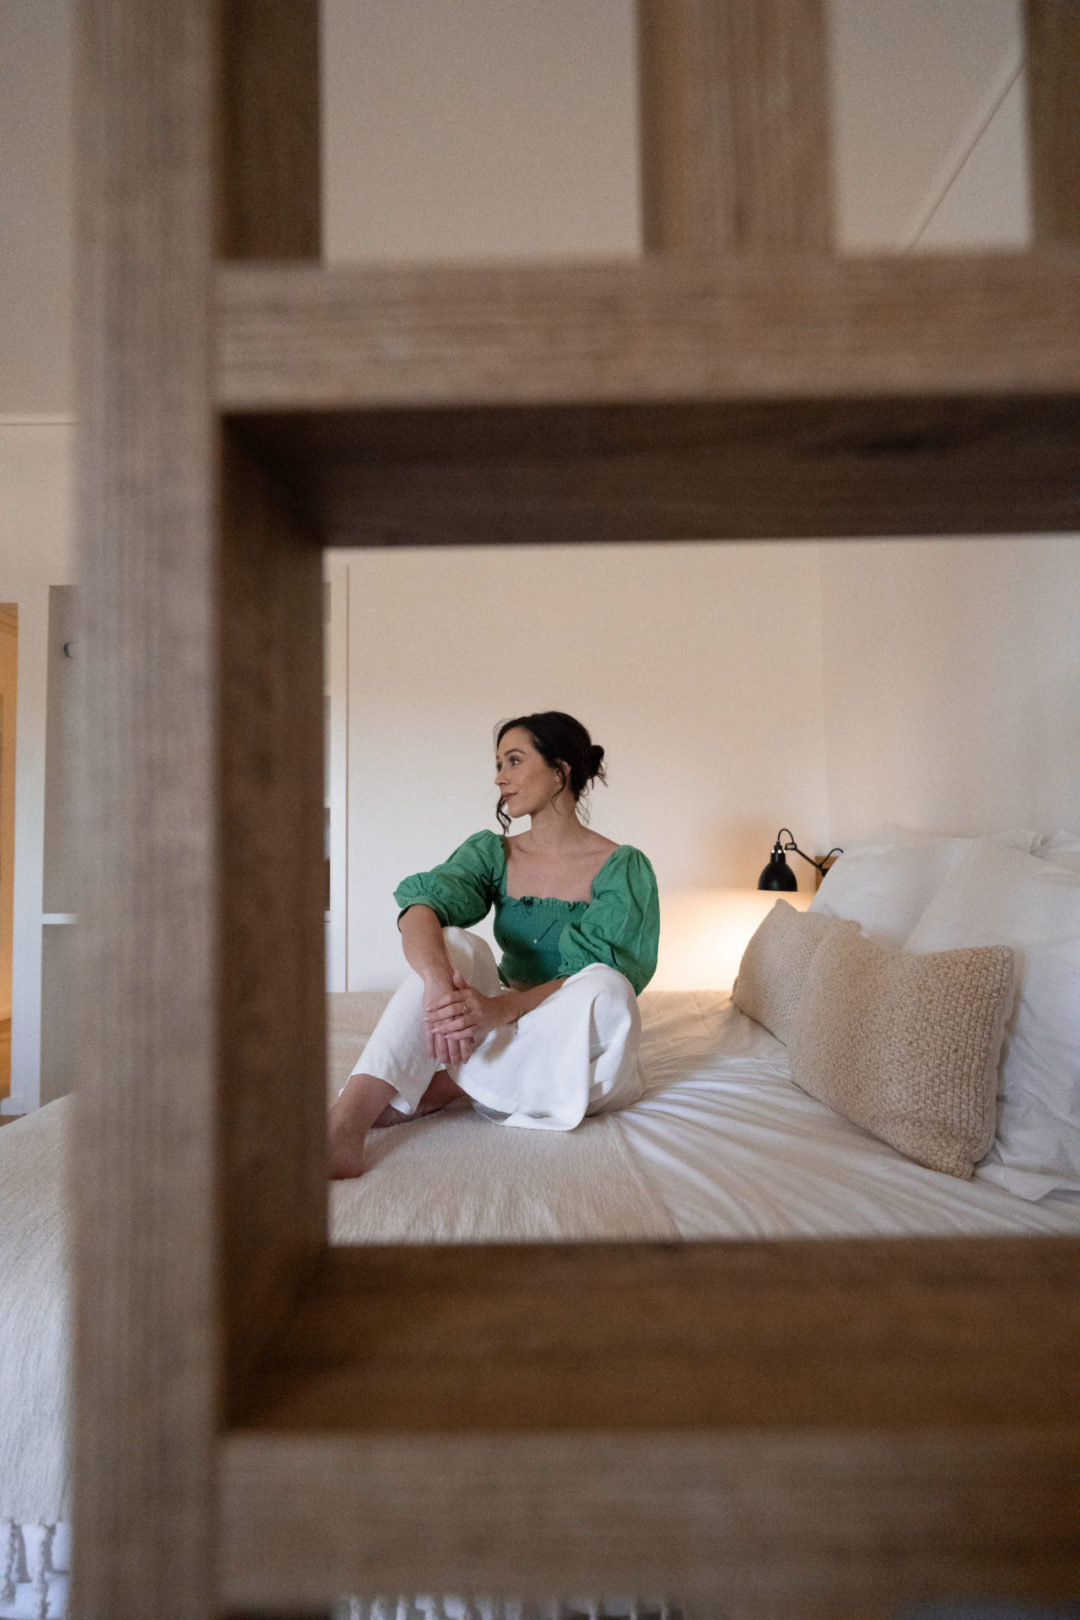
The star of the room though, was of course, the main bedroom-living area. Half-separated by wood divider, the open, air-conditioned space seemed both clean and cozy, mirroring the hotel’s minimal and earthy design.
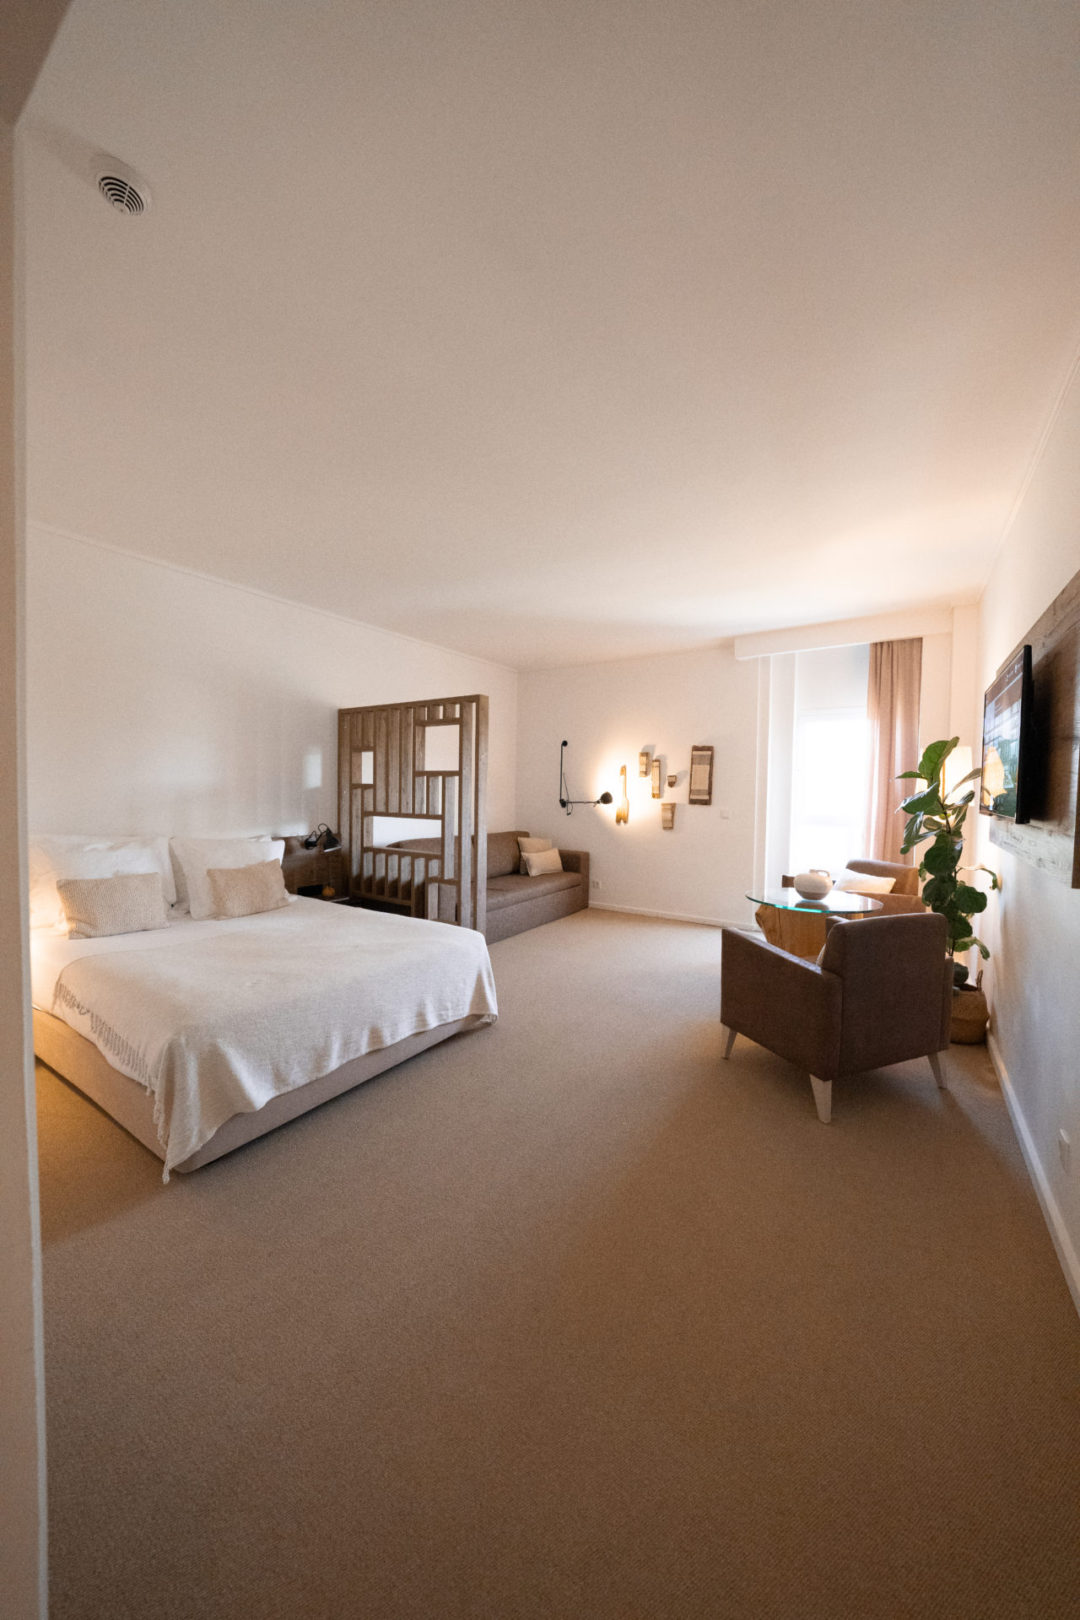
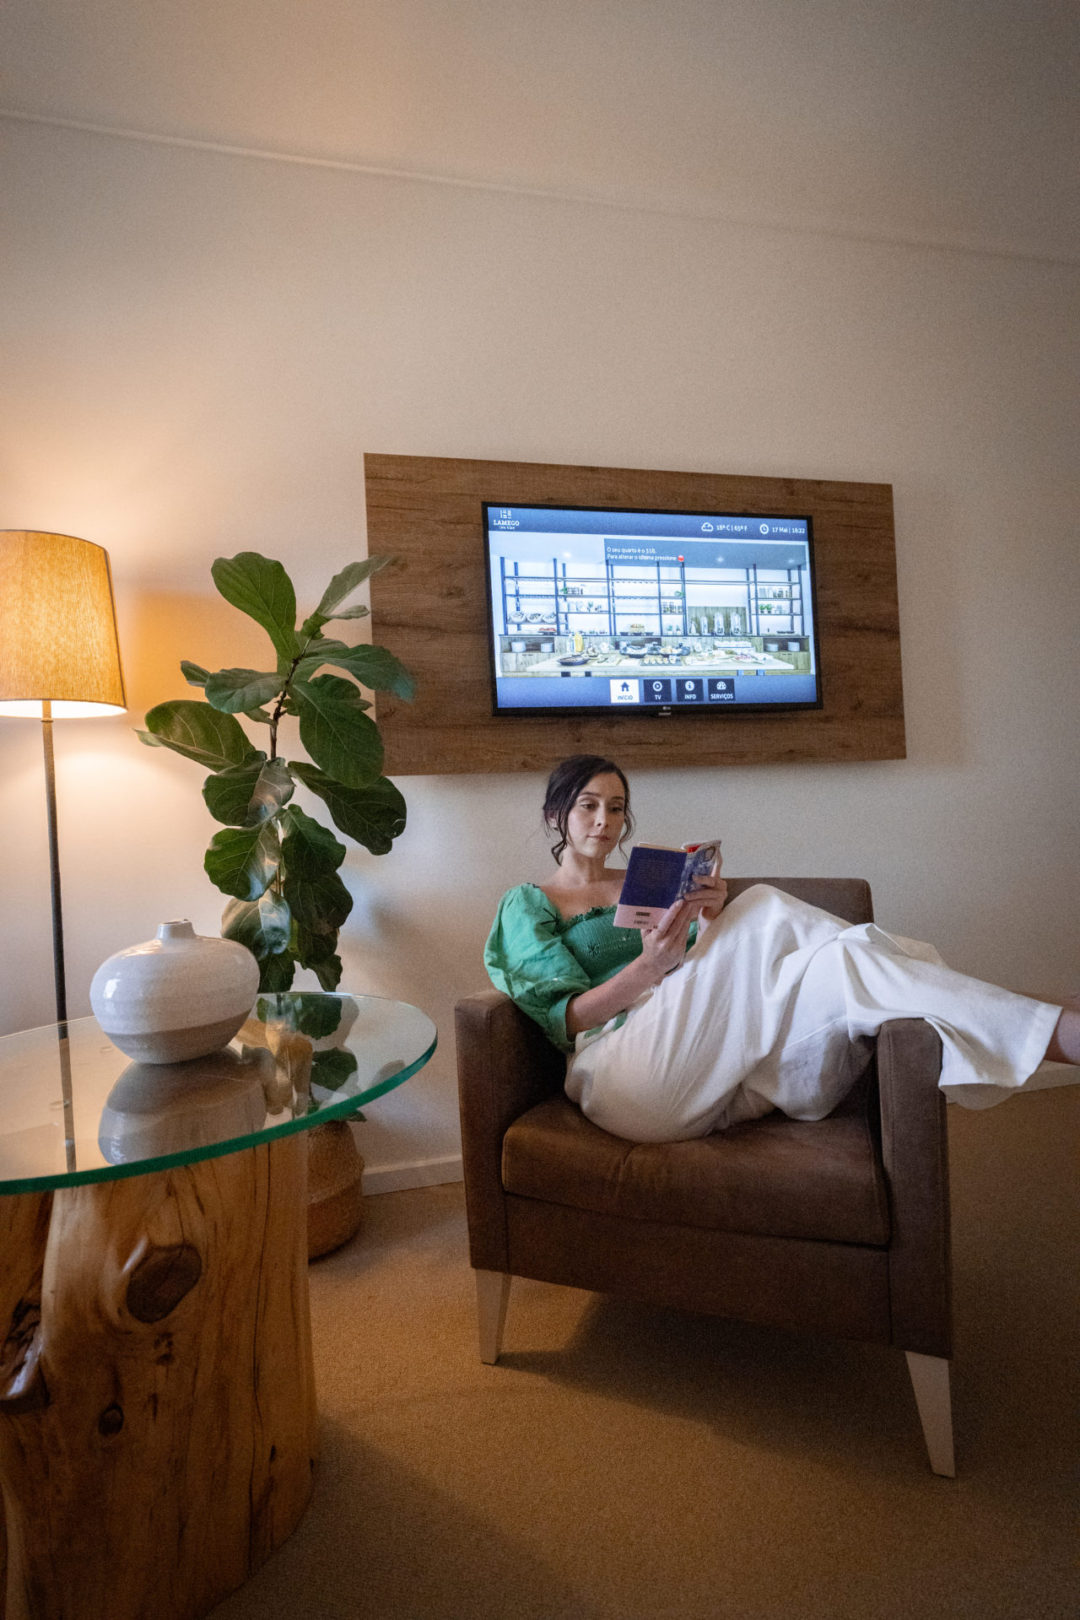
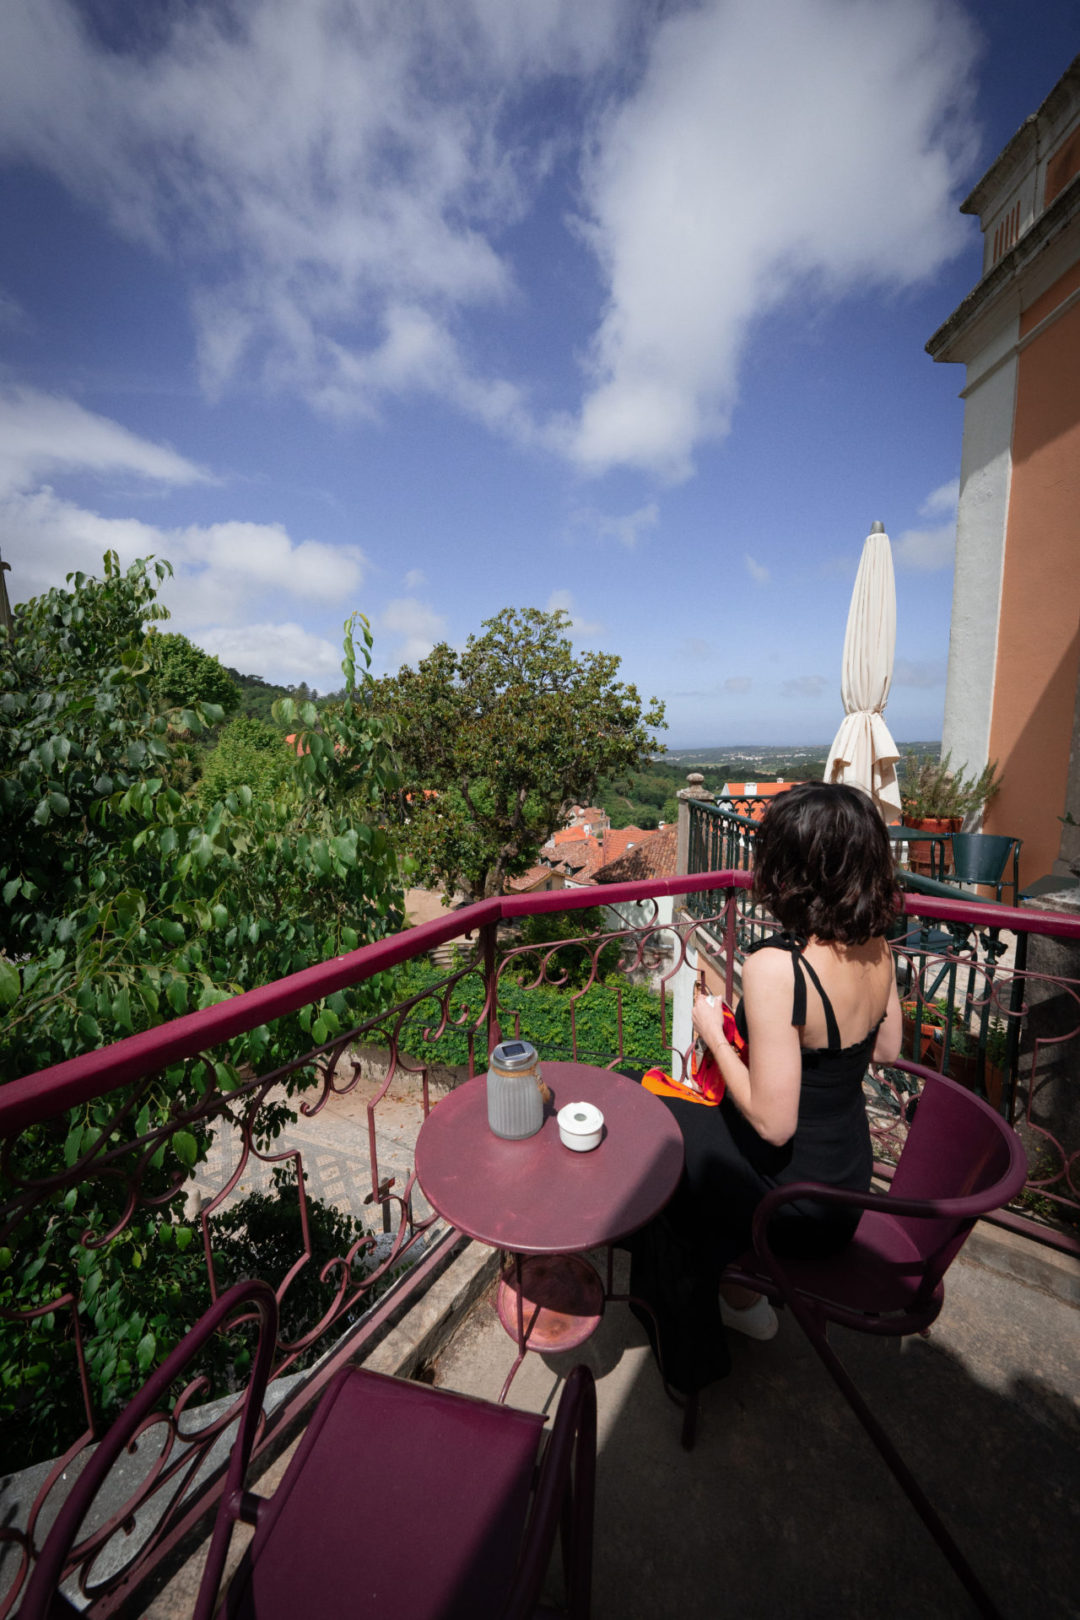
The room’s sleeping area held a bed fit for a queen, side tables with individual lamps, an open closet and plenty of room to store luggage. On the other side of the room’s partial divider was a sofa-bed and a table with two side chairs that proved to be the perfect place to sit and enjoy a view of the Douro Valley below.
The room came equipped with a flatscreen TV with variety of cable channels that I could watch from either side of the divider. But what truly impressed me was the TV’s easy-to-navigate list of hotel information and services. Being able to catch up on my favorite episodes of Law and Order: SVU while seamlessly browsing the room service menu during commercial breaks was a convenience that truly elevated my stay.

The Food and Drinks


I don’t say this about accommodations often, but perhaps one of the hotel’s best features is its cuisine.
Lamego Hotel & Life offers five dining options:
- O Comendador
- 1926 Bar
- Pool Bar
- Picnic in the Douro Valley
- Room Service
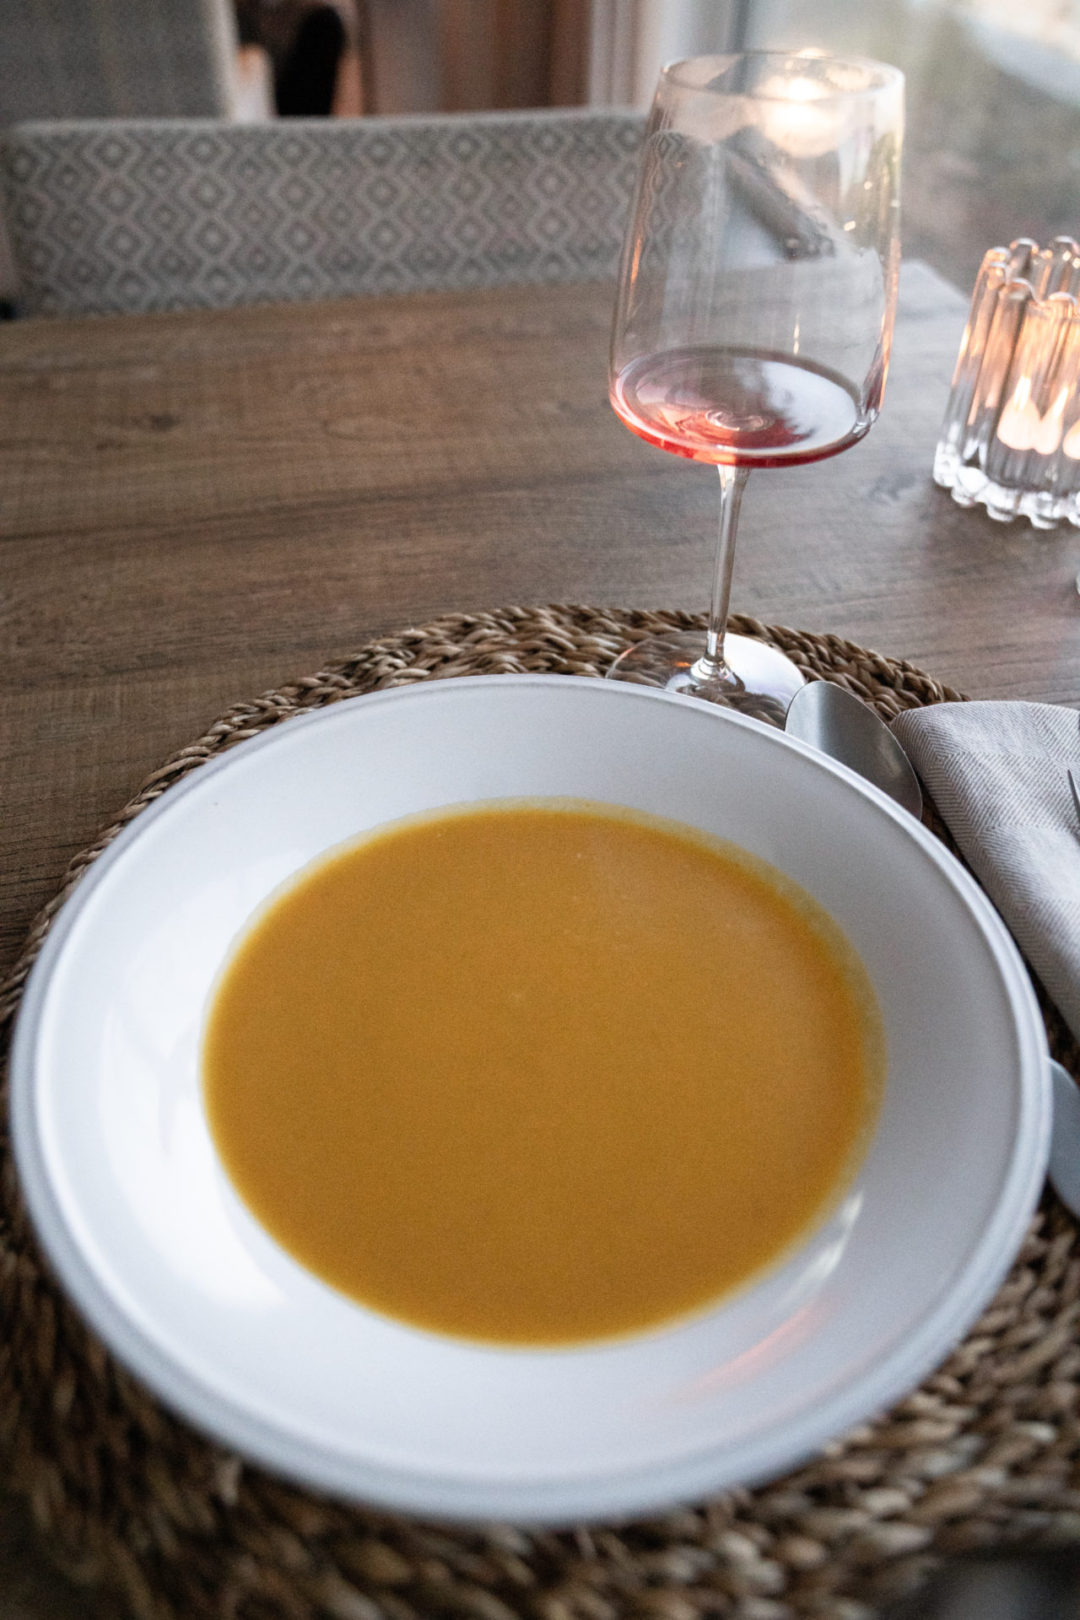
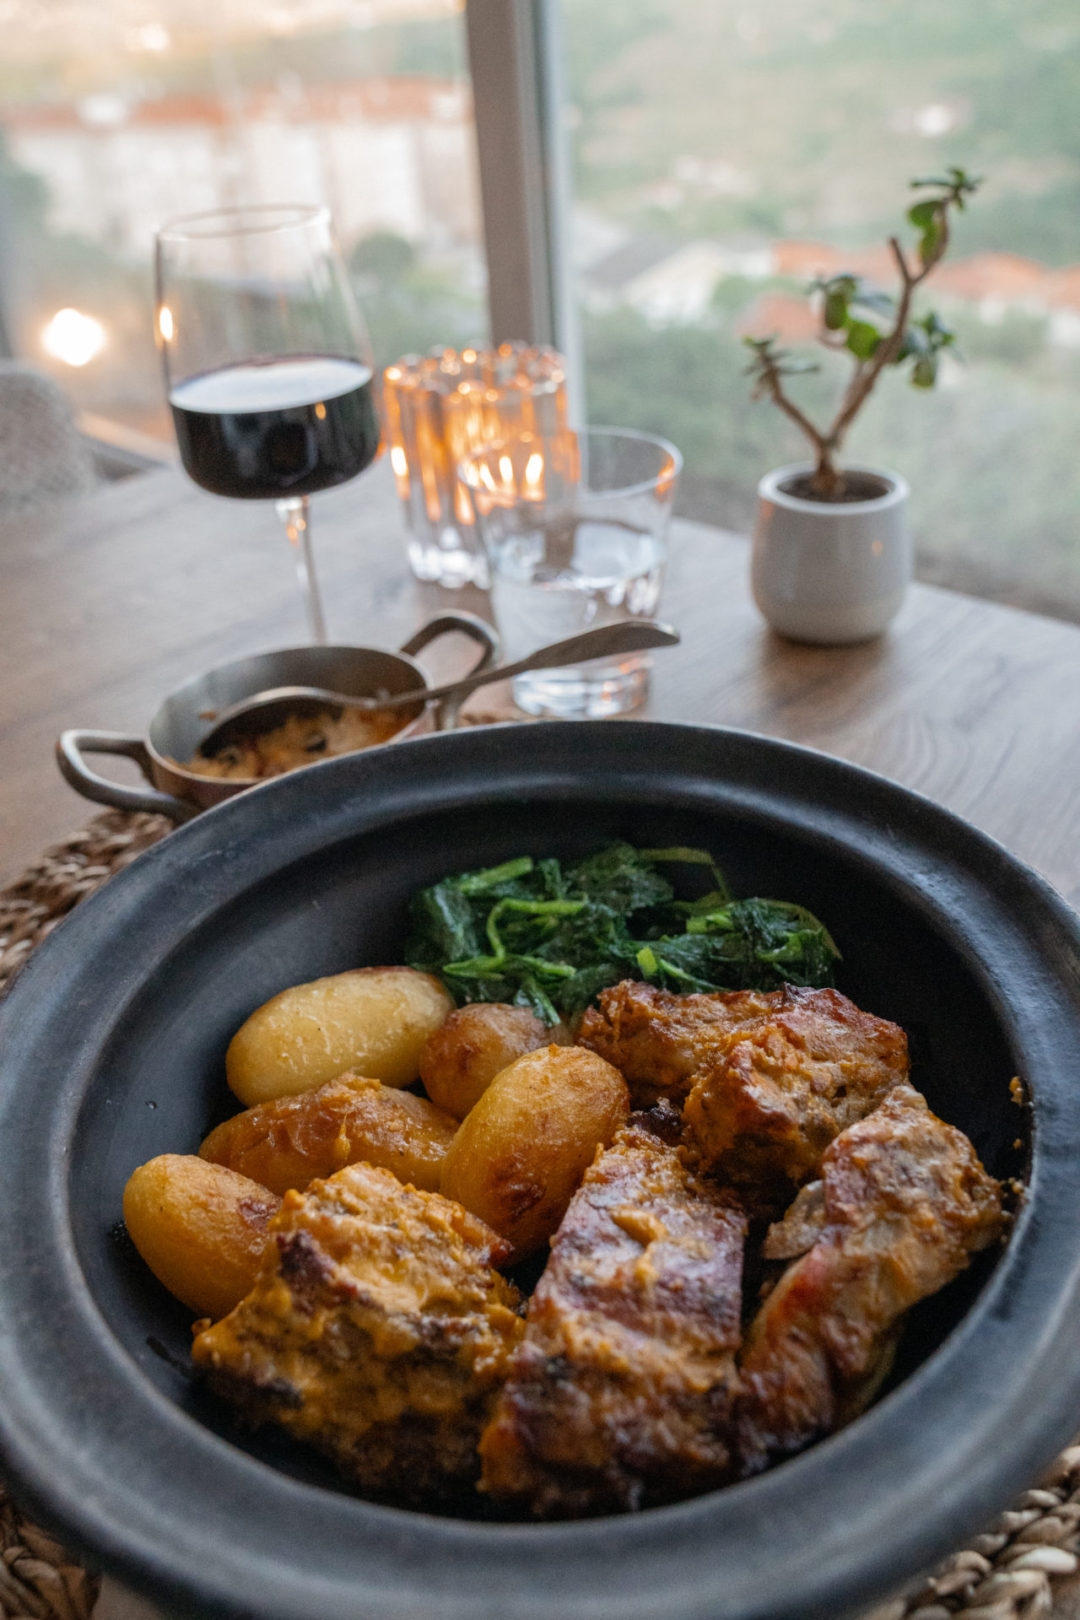
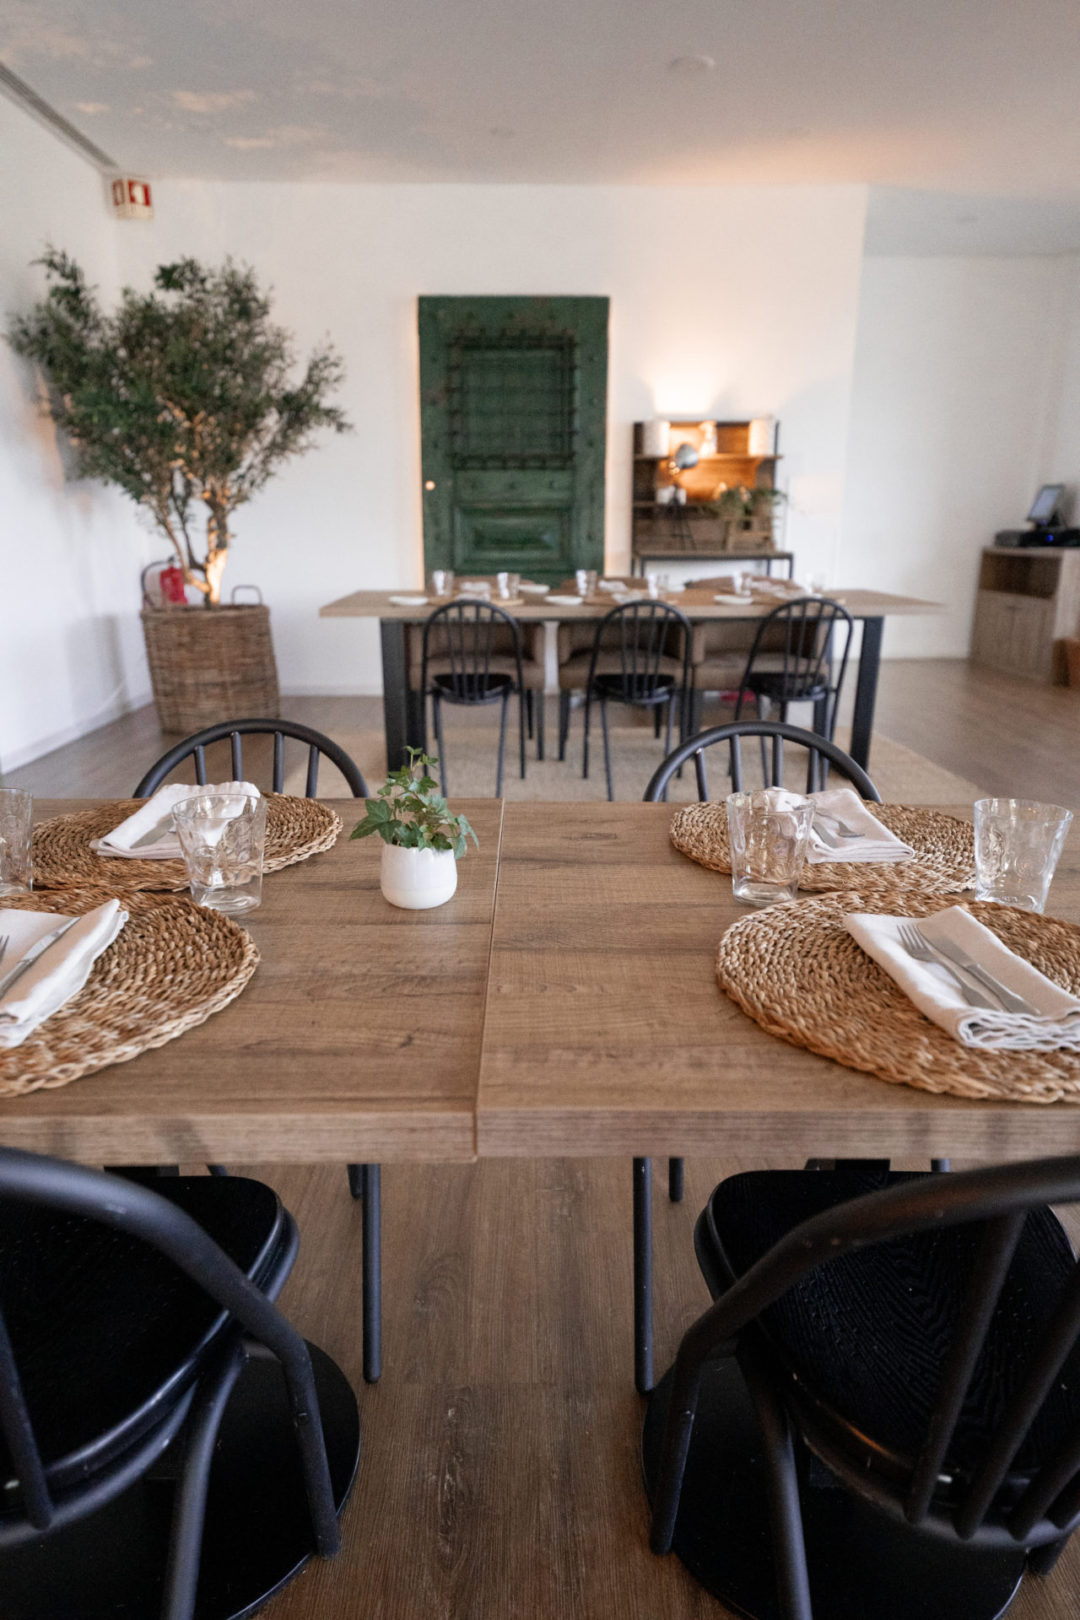
O Comendador is the hotel’s full-service restaurant. Open for dinner and a daily breakfast buffet, O Comendador serves Portuguese fusion cuisine in a high-end space. I dined here my first night and left completely mesmerized. The restaurant’s Pork Cheek with Truffled Potatoes Purée and Pear in LBV Port Wine was easily one of my favorite dishes from the Douro. The cuisine, coupled with a view of the Valley below and an attentive waitstaff, it’s hard not to have a special dining experience here.
Just next to O Comendador is 1926 Bar, the hotel’s slightly less formal restaurant-bar. With a number of classic cocktails, wine and tapas, 1926 Bar is where I received my welcome drink and first sampled the hotel’s amazing dishes. What impressed me the most here was how accommodating the servers were with allergies and dietary restrictions. As the first spot I dined at in the hotel, 1926 Bar not only provided dairy-free substitutions for me, but also went out of their way to alert the other onsite restaurants to ensure I’d be well taken care of throughout my stay.
Outside of it’s two main restaurants, the resort also offers a seasonal Pool Bar with a smaller version of 1926 Bar’s menu, Room Service, and most intriguingly, Picnics in the Douro Valley.
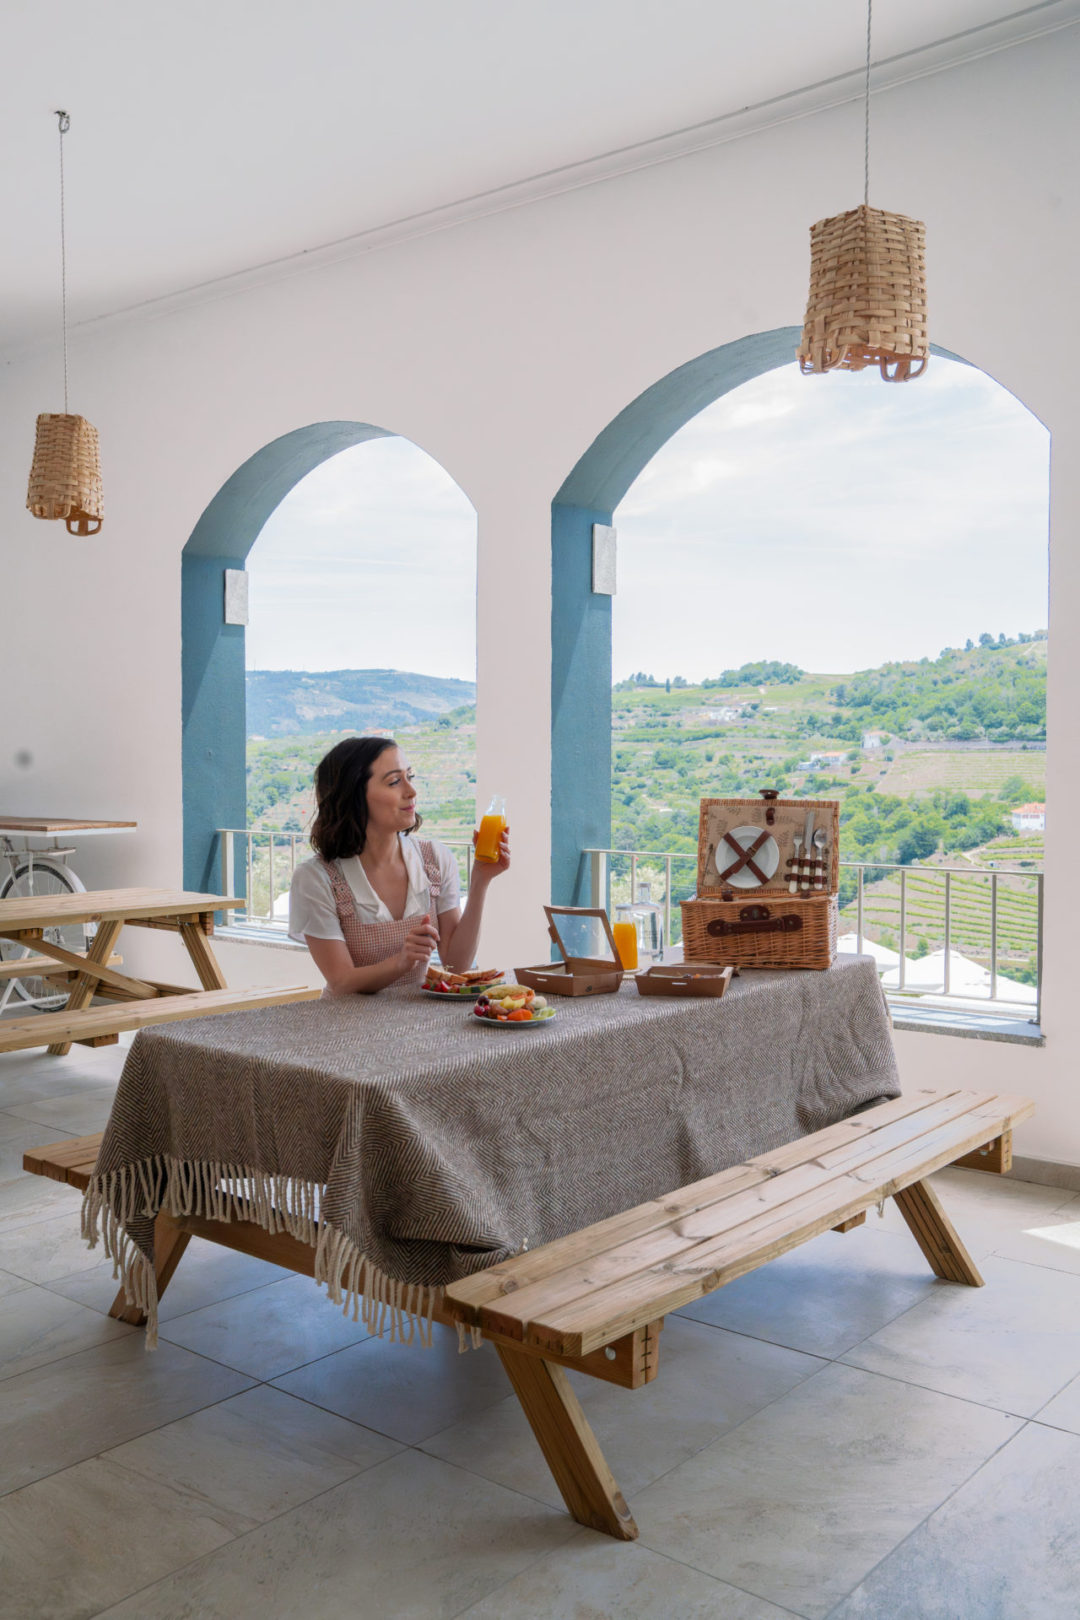
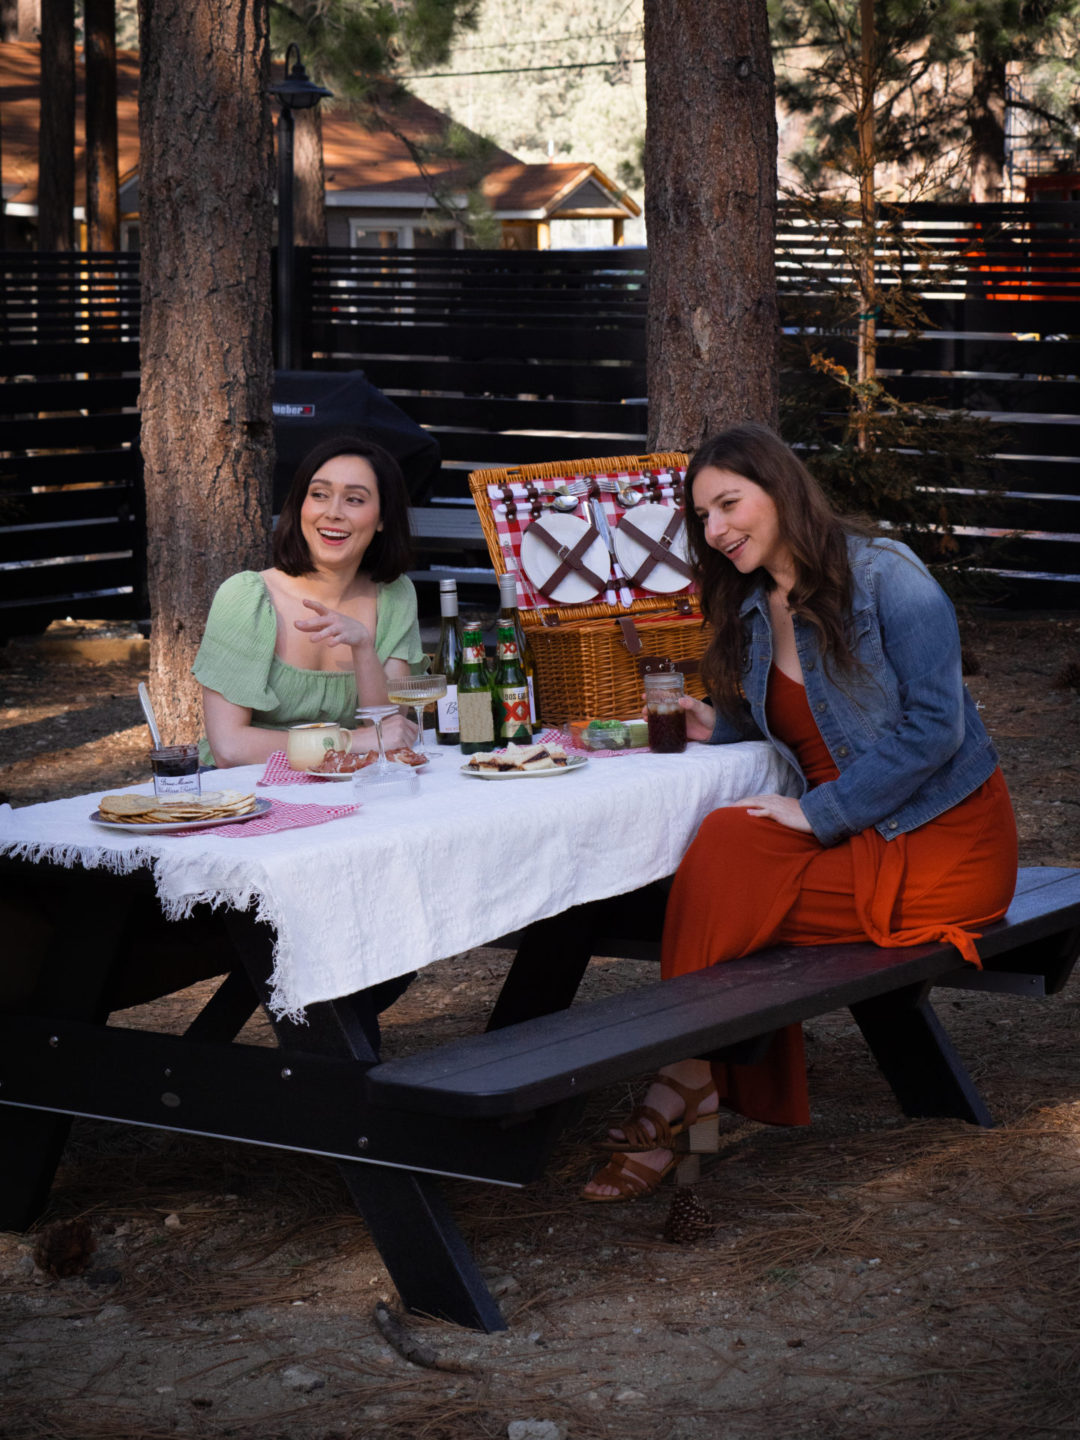
Being in wine country, I knew a picnic would be essential and was pleasantly surprised to see how easy-to-arrange and luxe their setup was was. Glass bottles of water and freshly-squeezed juice accompanied containers of sandwiches, cherries, kiwis, berries and vegetables in a straw picnic basket with a thick blanket. It was a unique and perfect experience to round out my visit to the Douro Valley.
The Verdict
One of the most accommodating and accessible hotels I’ve ever had the pleasure of staying in, Lamego Hotel & Life was a dreamy retreat that I recommend to anyone looking to European wine country escape in the Douro Valley.
From its mouthwatering cuisine to its wellness-oriented activities and from its roomy interiors to its breathtaking vistas, my entire experience was nothing short of magical. Lamego Hotel & Life is a stay that is 100% worth coming back to again and again.
Lamego Hotel and Life
Lamego, Douro Valley, Portugal
Type: Wellness / Resort
Price: $$

