How To Capture Great Tripod Travel Photos While Solo
As an Amazon Associate I earn from qualifying purchases.
I always mix up my photography methods when I’m traveling solo, but the most surefire way I’ve found to capture my own pictures has been by using a tripod. In doing so, I’m not only able to take my time in capturing the magic of a moment or a place but I’m also able to fully oversee a creative vision from start to finish. If you’re new to photography or solo travel, here’s all my best tips on How To Capture Great Tripod Travel Photos While Solo:
Choose the Right Tripod for your Destination
First thing’s first. In order to capture anything with a tripod, you’ll first need to buy one. But what do you even look for? Well, that depends on your goals.
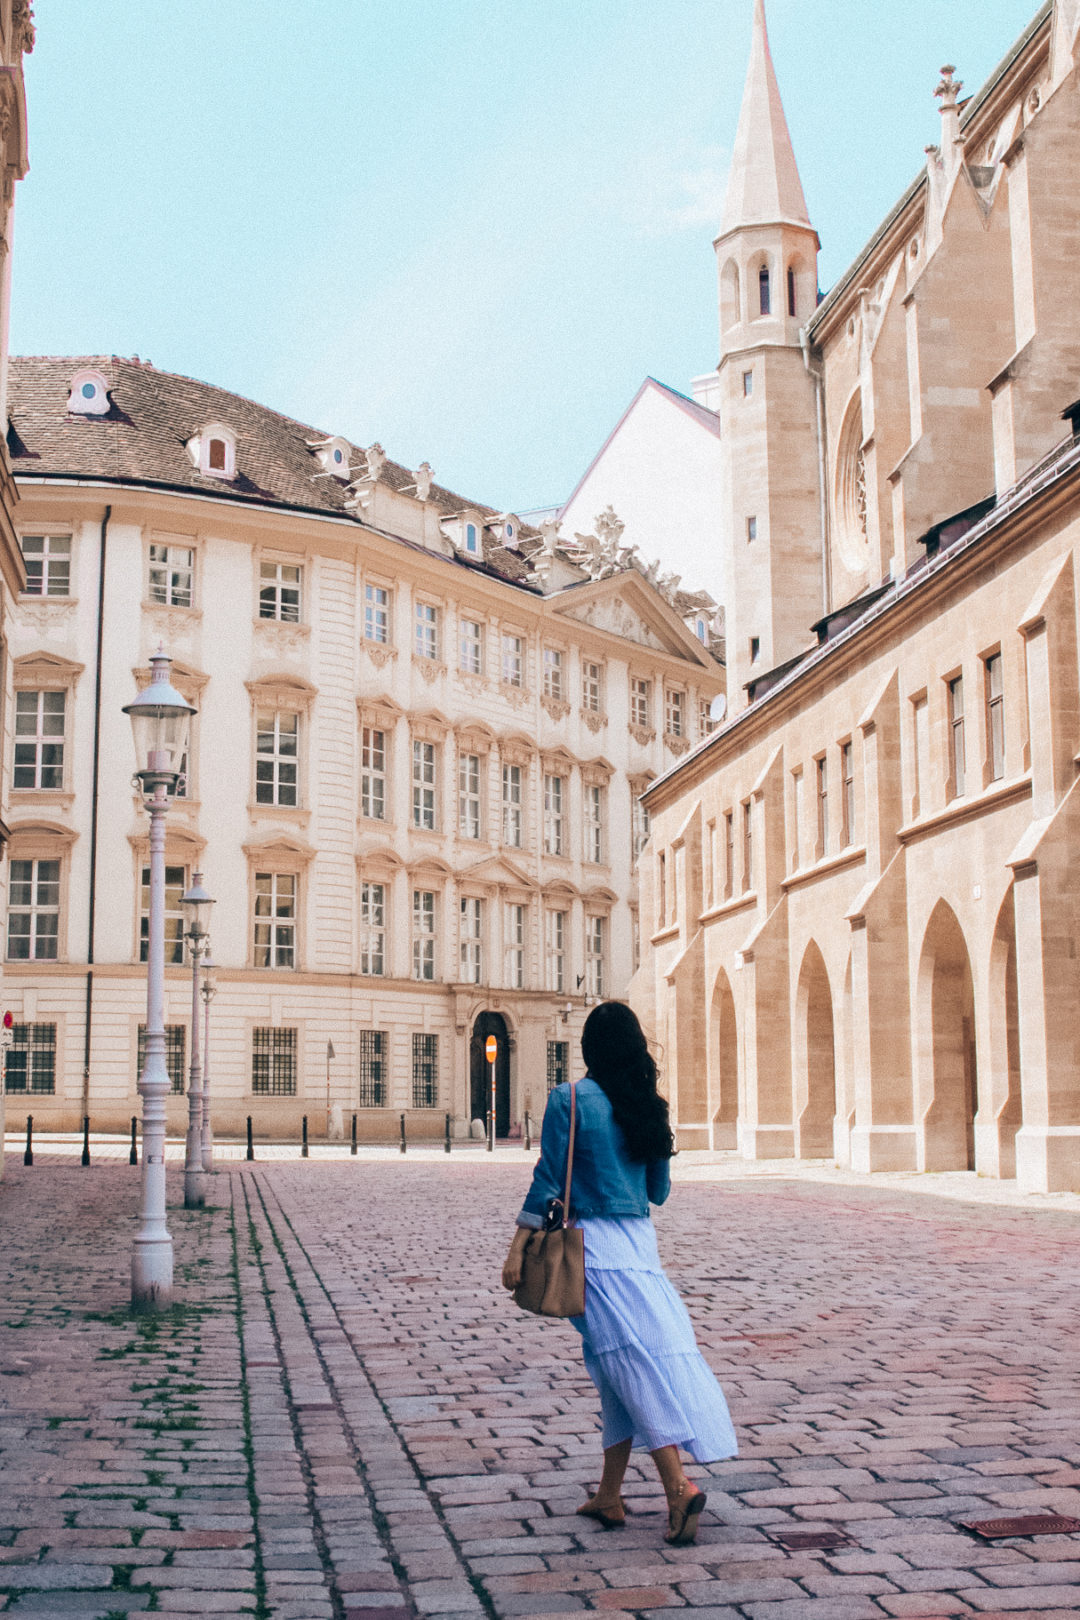
Before my first ever solo trip to Austria, I knew I wanted to try shooting with a tripod. And after a bit of research, I found a lightweight option that I thought would suit me. And for the most part, it did.
My first three days were spent in Vienna where I captured all the city shots I had wanted perfectly. Once I made it to the countryside, however, things took quite a turn.
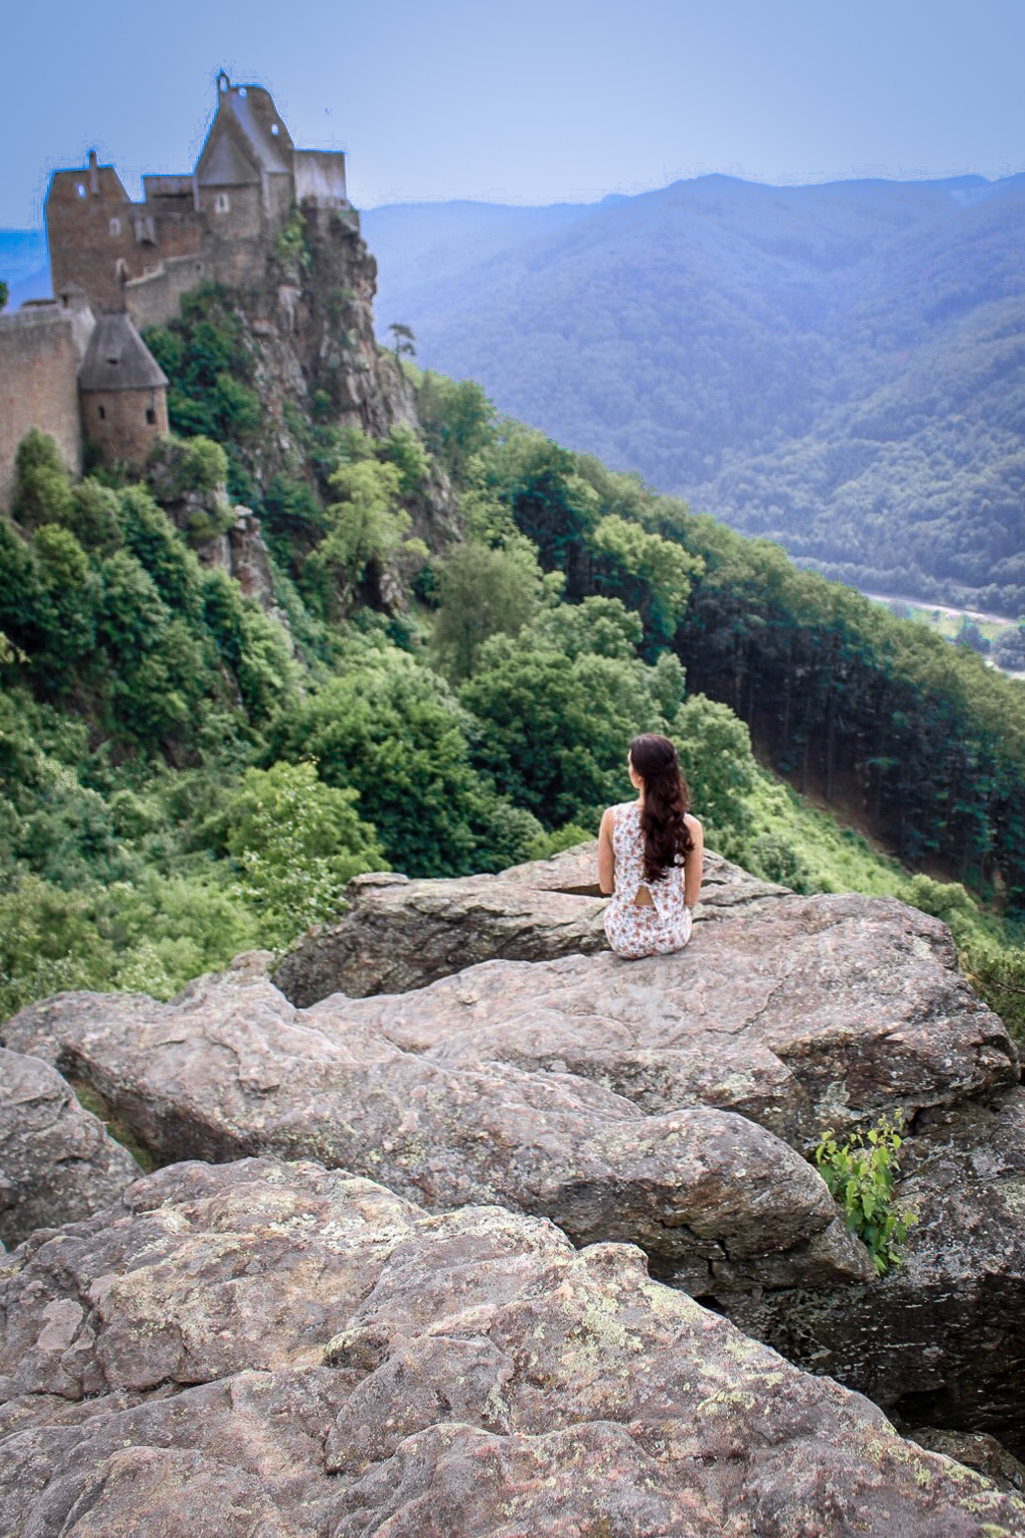
I was perched on a rocky hilltop high above the Wachau Valley, attempting to capture a photo of myself peering at one of the region’s medieval castles. There was light rain, but the weather wasn’t too crazy, so I lined my camera with protective gear and set up my tripod with some extra support, nestling the legs in between a few of my travel bags. I moved into frame, sitting down while facing away from my camera and started snapping. That’s when I felt it. A sudden, strong gust of wind came barreling through followed by a loud crashing noise. My tripod had blown over – and almost completely off the edge of the rocky outcrop.
Luckily for me, I got back to my equipment before another gust of wind hit and I found that my camera had survived the fall with nothing more than a small scuff mark. Despite the outcome, I was all too aware of how much worse things could have been, and I quickly realized that I might not have brought the best tripod with me for either a hilltop hike or turbulent weather!
What To Look For
In my speed to buy my first tripod, I neglected to factor in durability and sturdiness, instead focusing on the most lightweight (easy-to-carry) option I could find. Of course, all of these characteristics are important, but it can be difficult to find a tripod that excels at all three. Typically, one attribute will always be better than the others. To figure out which tripod is right for you, consider your destination.
If in nature, at a higher elevation or traveling anywhere with unpredictable weather, focus on finding a sturdy and durable tripod.
On the other end, if you’ll be on a walkable city break or a relaxing beach vacation, I’d instead steer toward lighter-weight options that won’t leave you feeling stiff or sore at the end of a long day.
Recommended Tripods
After Austria, I purchased an additional tripod that would better suit my outdoor needs. No matter your destination, equipment or budget, here is my recommended (affordable) tripod option.
Remote-In
When shooting self portraits, the last thing I want to do is wait for my camera’s self timer or from waste my memory card space shooting in burst mode. I solve for this by using my camera’s built-in WiFi to connect to Canon’s phone app and then use their remote shooting feature. I love this capability because it allows me to see the shot on my phone and properly position myself while I’m already in frame.
But if you’re using a phone or if your camera doesn’t have WiFi-based remote shooting, I highly recommend purchasing a remote control.
What To Look For:
First, check what kind of connection your camera will support – WiFi, Bluetooth, etc. Your camera may have multiple options available, or just one. In either case, you’ll need to make sure the remotes you’re searching align with your camera’s functionality. And if you’re not sure what to look for, many remote options list the camera models they’re compatible with under the product specifications!
Next, try to focus on remotes with longer wireless ranges. The further away you are from your camera or phone, the more difficult it will be to connect your remote and take a photo.
Finally, check to see if the remote(s) have separate autofocus and release controls. Having these separated is immensely helpful for shooting with a shallow depth of field.

Practice Makes Perfect
Secret Travel Tip:
Test out each lens you plan to take with you, making sure your tripod is able to hold your camera upright both horizontally *and* vertically without drooping forward. If it can’t, you may need a Tripod Collar like the one I bought!
Once you have your tripod and remote shooting device, it’s time to practice setting up your tripod, mounting your camera and using your remote. This may sound unnecessary, but it absolutely helps to avoid any last minute snags you might otherwise have during the first use.
For me, I was even able to avoid an unforeseen problem with my zoom lenses! I quickly learned that heavy or longer lenses will tend to droop your camera downwards, making it nearly impossible to walk away and take a photo with your desired composition. Luckily, I found a Tripod Collar that helped me correct this before my first trip!
Create A Mood Board or Shot List
There’s a reason that films, shows and even commercials have a long period of scripting and storyboarding before they go into production. While the same level of detail may not be necessary for your travel photos, don’t be afraid to get creative and plan ahead. By that I mean challenge yourself to find work that you like – is there a perspective, a mood, a style that you gravitate towards? How about color? Do you want to stand out from your background or blend-in?
By answering these questions ahead of time, you’ll already have an idea of what to wear, what lenses/equipment you should bring, etc. And you’ll be able to hone in on specific angles, distances and perspectives a lot easier – leaving more time for exploring!
Know Your Routes
Navigating a new city can be confusing, especially if you’re walking around or you aren’t 100% fluent in the local language. Because tripods can be heavy and because they can signal to others that you have an expensive camera, it’s best to look up directions to your destination ahead of time.
Find the shortest possible routes, while steering clear of any less-than-safe neighborhoods and streets. And try to look confident wherever you go, actively paying attention to your surroundings.

Visit During “Off-Hours”
The busier a location, the less safe it will be to step away from your camera to get a shot. And on top of that, most people won’t realize you’re capturing a moment if you don’t have a camera directly in your hands. Even with just a few others around, you always run the risk of them walking in between you and your tripod – ruining your shot.
So, it’s best to plan your visit outside of peak visiting hours. Research before you go when your spot is the least crowded.
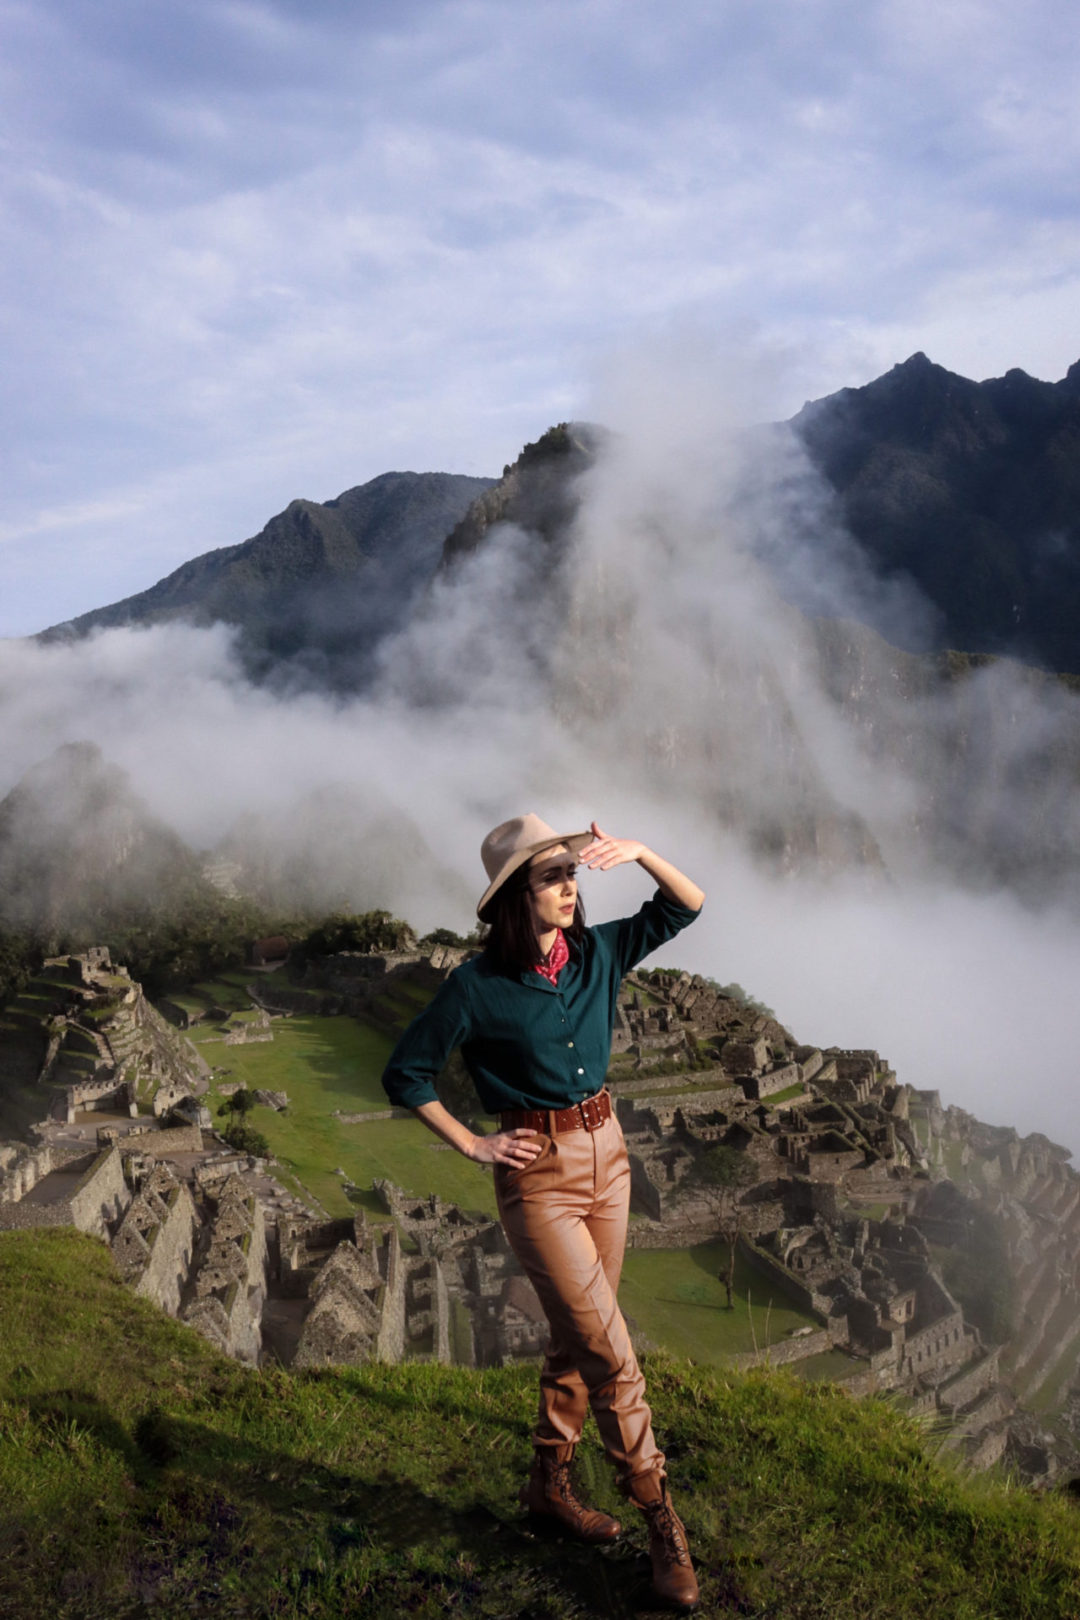
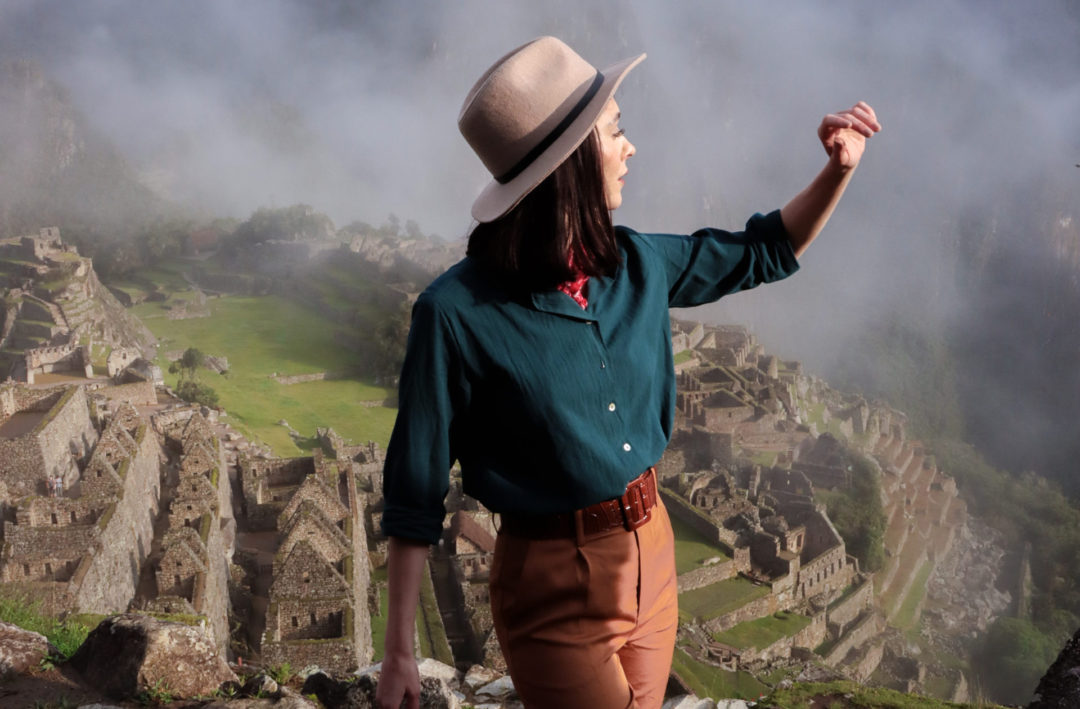
For touristy locations like the Trevi Fountain or Machu Picchu, this typically means going early. Just double check entry times for any ticketed spots and for any areas surrounding them.
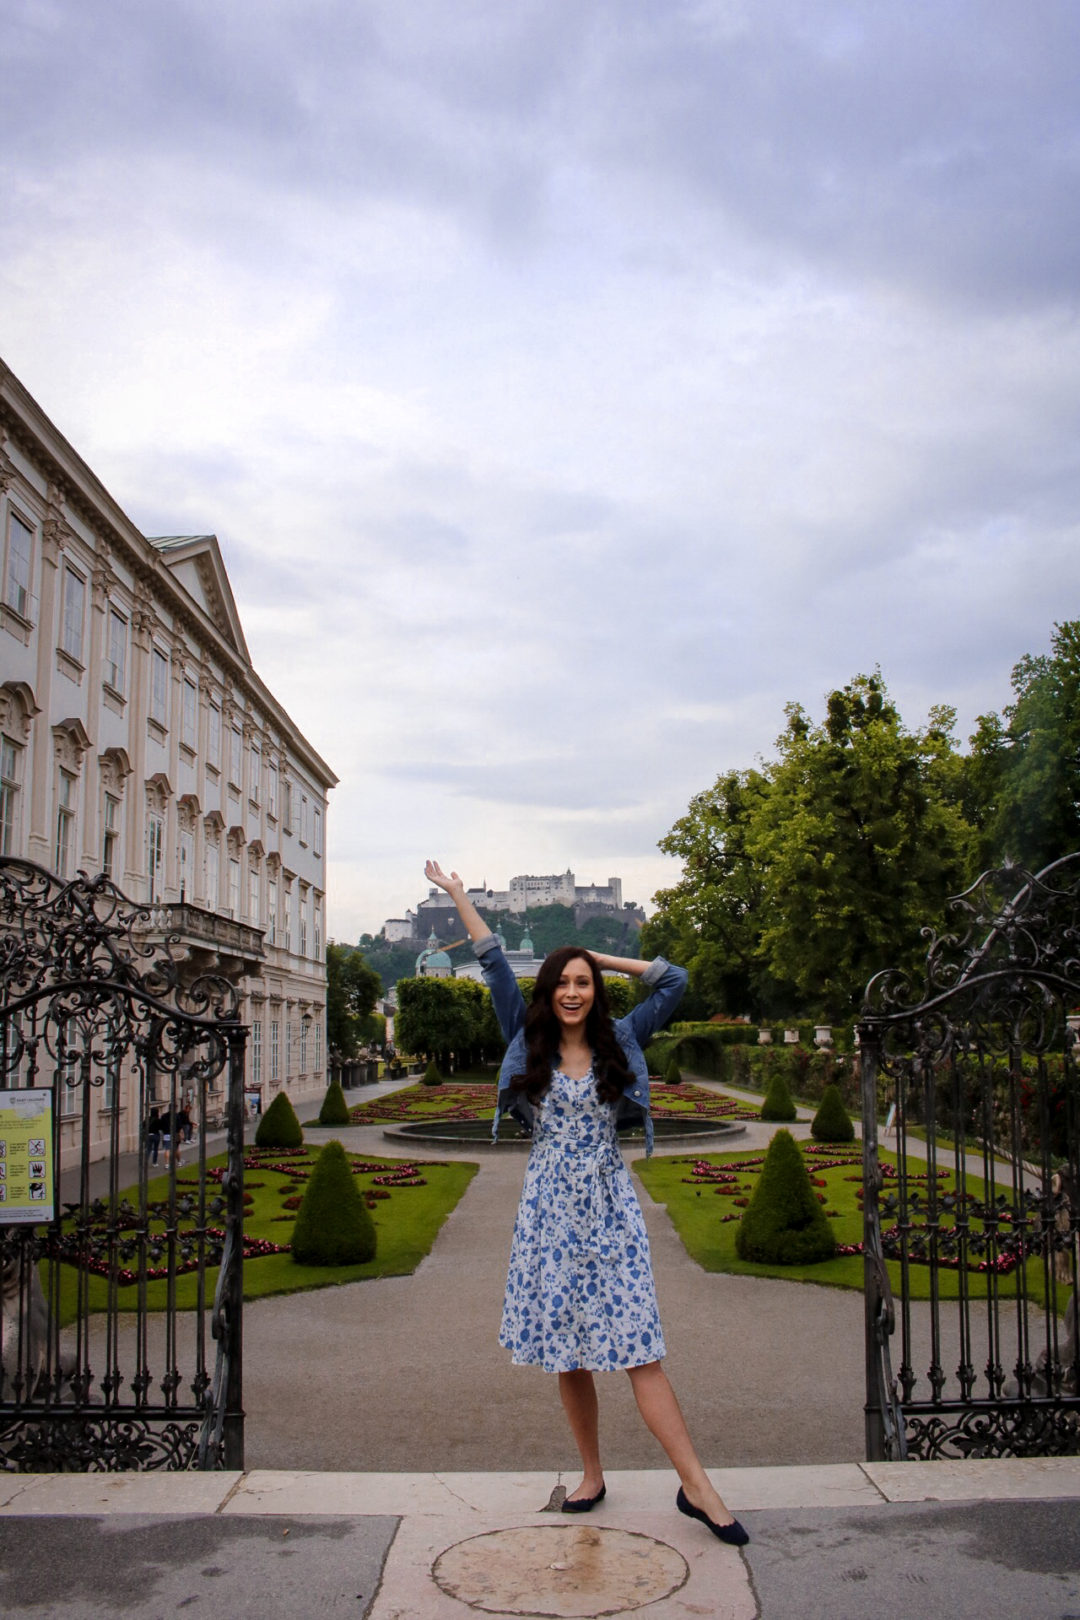
The Schönbrunn Palace in Vienna, for instance, doesn’t open until 9AM, but the gardens around the palace open at 6:30AM, providing ample time for shooting before tour groups arrive.
Get Your Bearings
Once you’ve secured your tripod, learned how to use it and researched your destination, all that’s left to do is capture your photos.
Give yourself enough time to walk around and find both the popular and the hidden gem points of view you’re looking for before choosing where to set up. Consider lighting, colors and the mood that you planned for during “pre-production” phase.
Prioritize Your Shot List
Once you have your points of view picked out, prioritize your “must haves” over your “nice to haves”. And if your must haves include any shots that you’ve seen on Instagram, move those to the very top of the list! At some point, other visitors will begin to arrive, so it’s best to get the most popular ones out of the way first!
Grab A Few Test Shots At Each Setup


Before jumping into frame, take a few test shots from behind the camera. Check the lighting and make sure the composition is set up just as you’d like it.
After that, move to take a few test shots in front of the camera! Sometimes I might not like how my outfit is photographing, how the light is hitting from a certain angle, etc., so seeing everything together helps me quickly adjust for where and how I want to position myself in the photo.

Adjust Your Focus And Aperture
Turn your camera’s automatic focus on. This simple fix helps keep you in focus once you step out from behind your tripod and into frame.
Also, if you’re capturing yourself in front of a large monument, versus something a bit closer like a beautiful tiled wall, consider adjusting your camera’s aperture to a wider depth of field (f/16 is a wider depth of field than f/2.0). You’ll have a better chance of taking photos where both you and your background are in perfect focus.
Move Around
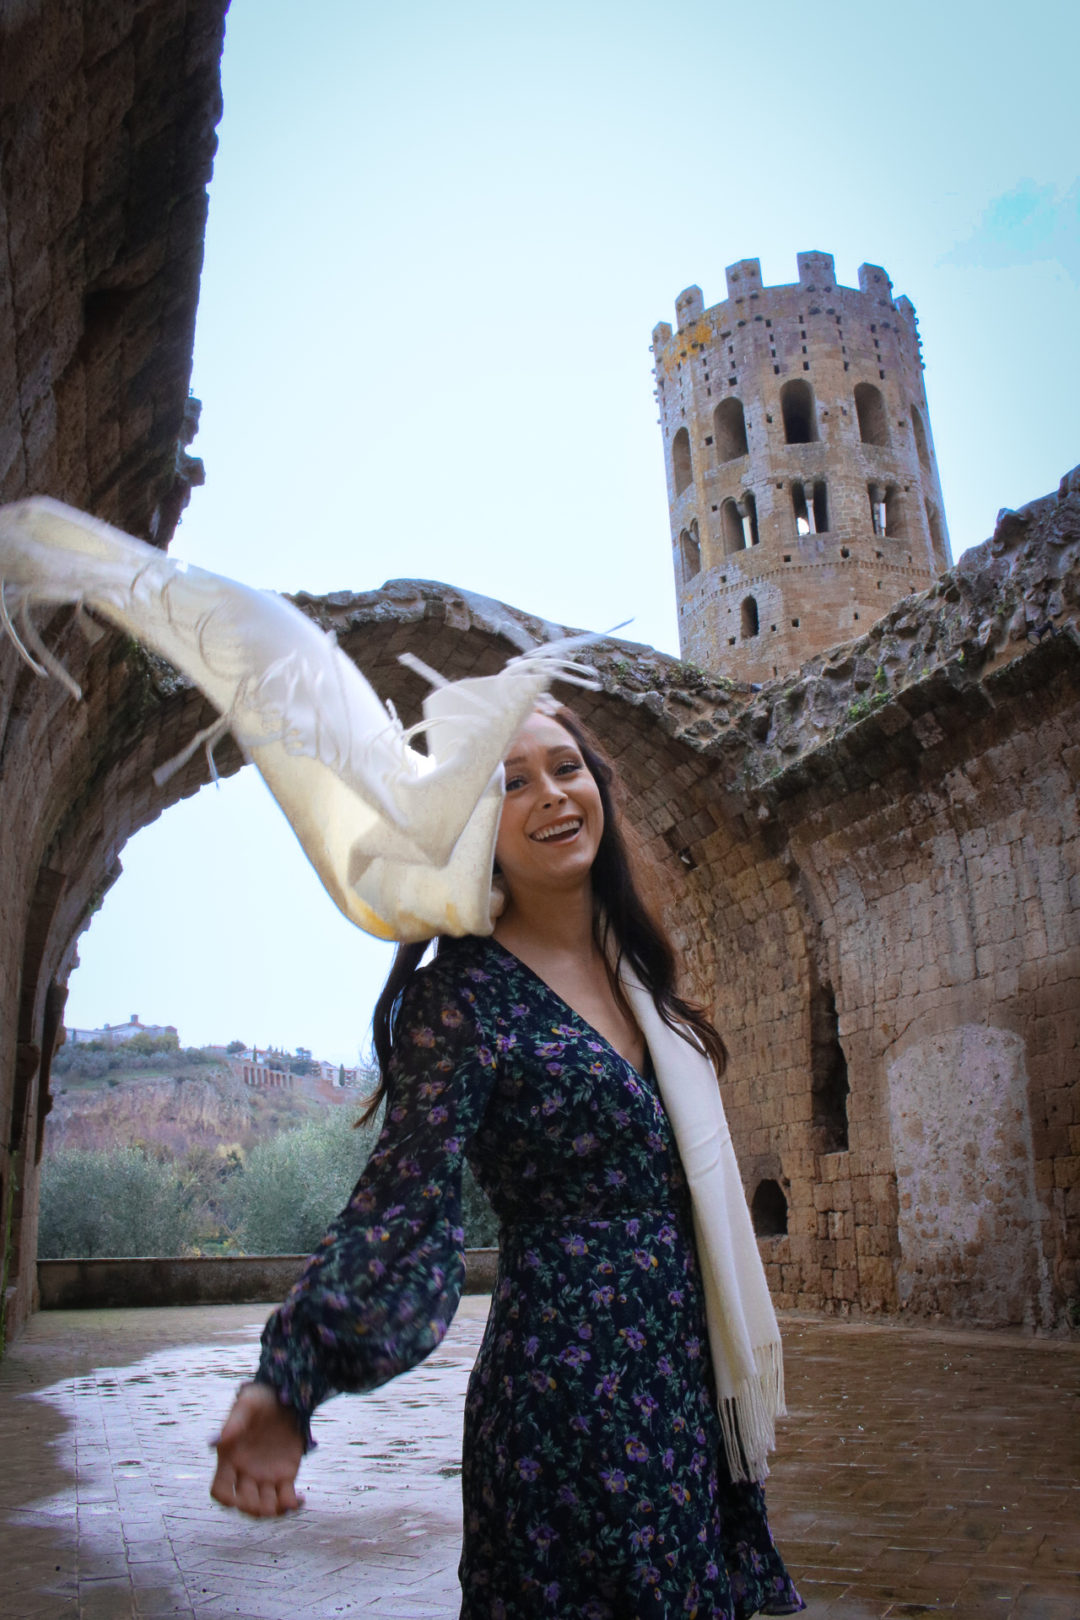
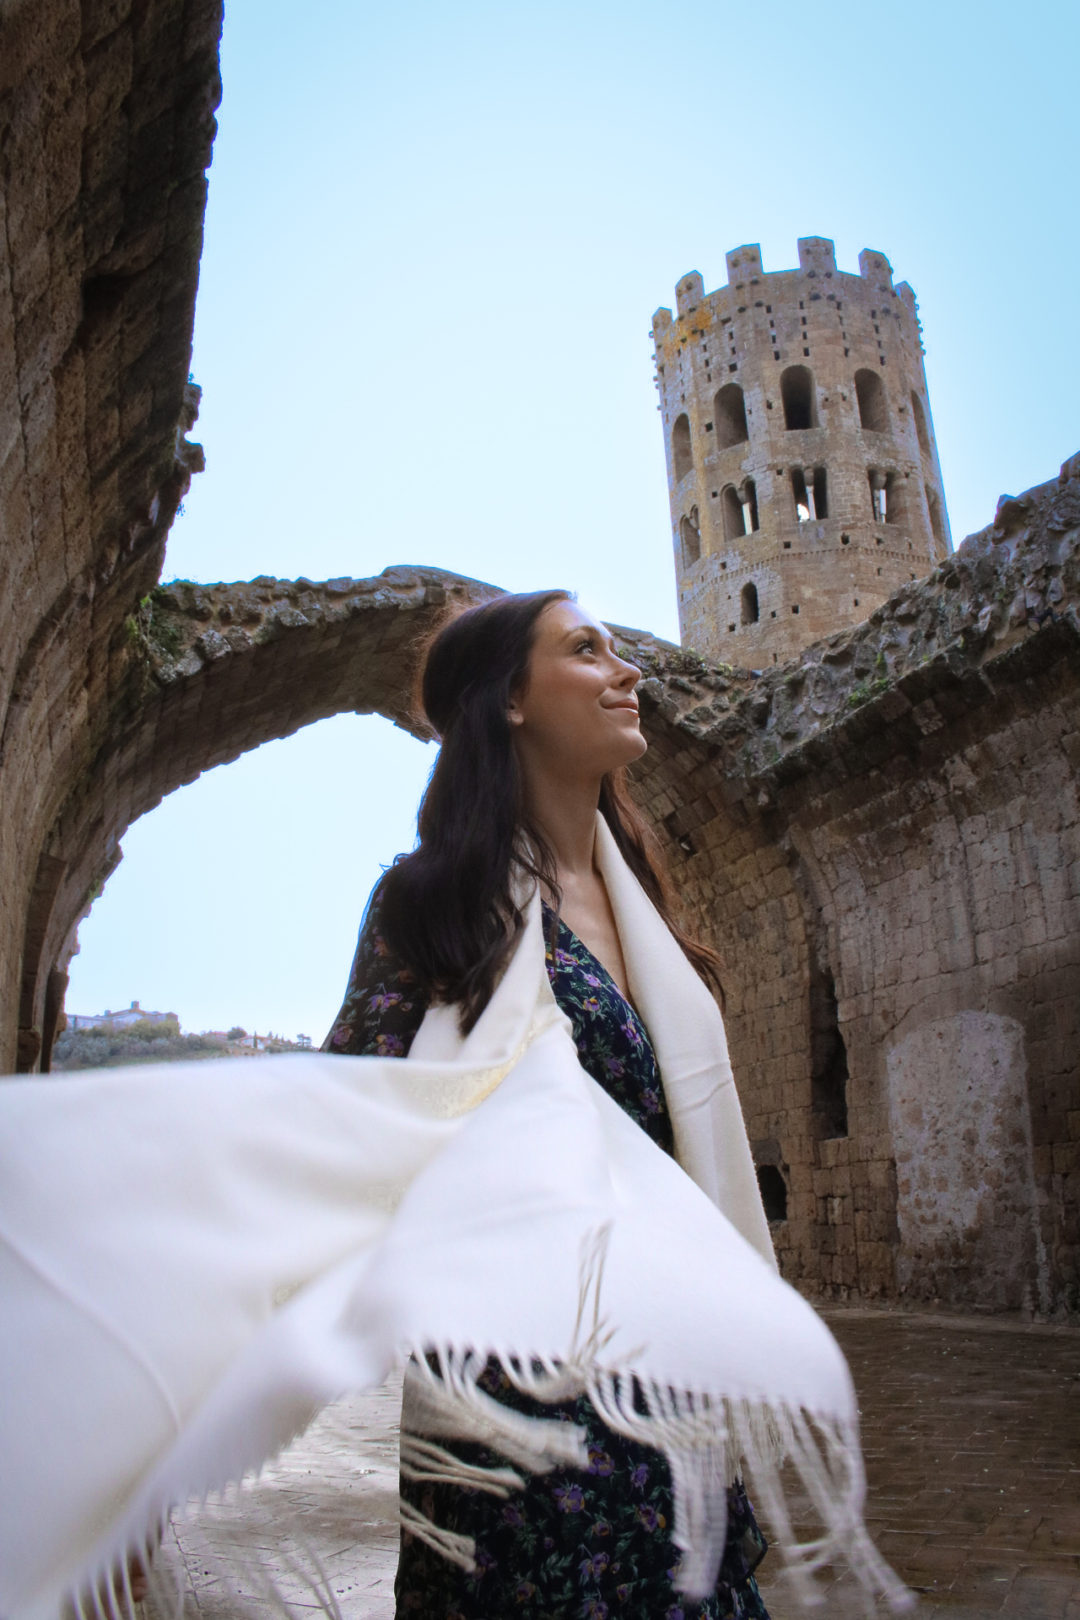
Finally, regardless of whether you’re shooting from a camera or a phone, make sure to keep moving in between each shot. This will not only help your camera pick up focus better, adjusting for any variables that inevitably change during your session, but it will also force you to try different poses and play with the space a bit more. Some of my favorite travel self portraits have been captured exactly this way!
And You’re Ready!
With all these tripod photography tips in mind, you’ll be ready to take your first solo travel photos in no time.
Enjoy!
Looking for another solo travel photography option?
I also love working with Vacation Photographers from time-to-time. Here are my secret tips to choosing the best one!